Beauty · All levels
Strengthen any nail with a thin, durable and elegant gel coating
A practical video programme covering material combinations, filing schemes for every shape and a fast combi manicure, so you can work confidently with real client nails.
- 8 modules, 47 video lessons
- Schemes for every nail shape
- Combi manicure without polishing
- 60 days of access
- 14-day money-back guarantee
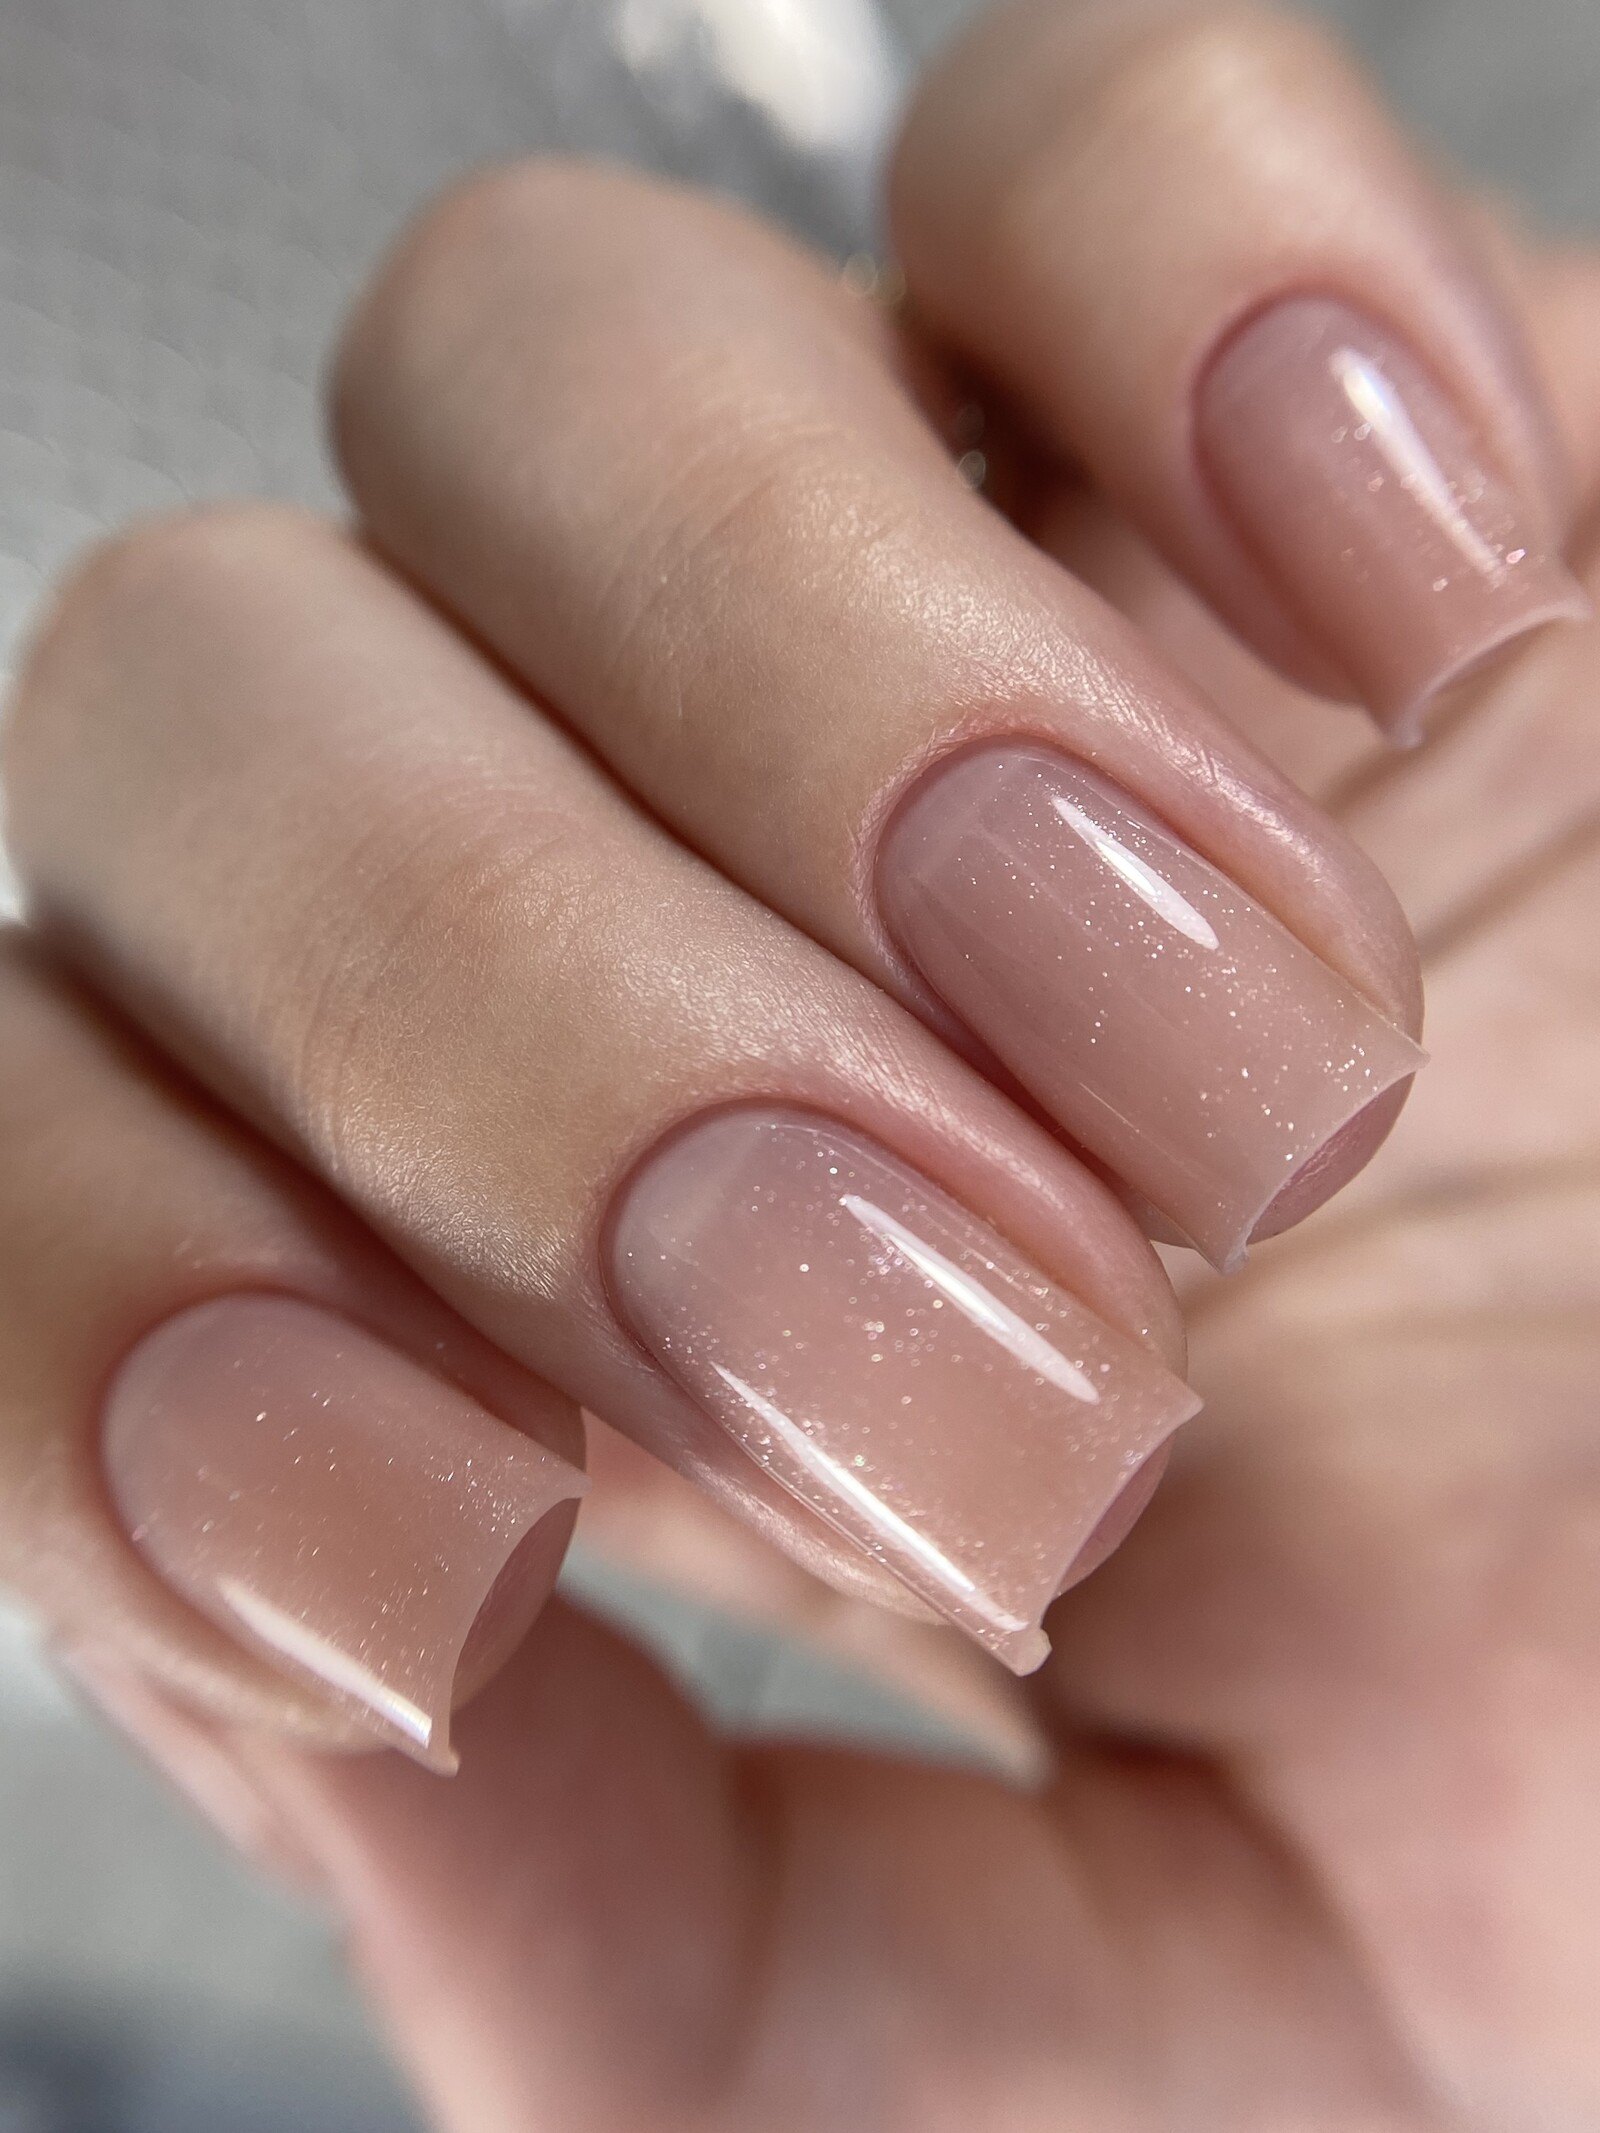
Why thin gel work is harder than it looks
Many manicurists can apply a thick, forgiving layer of gel. The trouble starts when a client wants nails that look natural and slim but still survive weeks of daily life. A thin coating leaves no room for error: a poorly prepared plate, an uneven stress point or a badly matched material shows up quickly as lifting or cracking.
Real client hands add more difficulty. Nails grow upward, curve, pinch at the sides, sit very short or have a sensitive cuticle that clings to the plate. Without a clear system, every such case turns into improvisation, and improvisation costs time and confidence.
This programme gives you that system. It starts with the structure of the nail and the reasons coatings adhere or fail, then moves through the gels themselves, the filing schemes for each shape and the specific problem cases you will meet at the table.
The lessons are built around working technique. Many are practical demonstrations, some on a tip and some on live nails, so you can see how material is placed, where it is kept thin and how the shape is filed or built without filing.
What you will be able to do
- Choose material combinations that bond any nail
Match bases, gels and soft materials to the condition of the nail plate.
- Prepare different nail types correctly
Understand adhesion, test bases for aggressiveness and apply an acid-free base properly.
- Apply gel thinly at the cuticle and side walls
Use three working techniques to place material precisely where it is needed.
- Follow step-by-step filing schemes
Work through square, oval and almond shapes with clear schemes for each.
- Strengthen short nails with little or no filing
Use the border technique and soft materials on very short nails.
- Handle difficult cases with a plan
Deal with upward-growing, curved, trapezoid and damaged nails and nails that need splicing.
- Perform a fast combi manicure without polishing
Open the cuticle pocket, work with a bit and trim with scissors.
- Apply colour, top coat and French in several variations
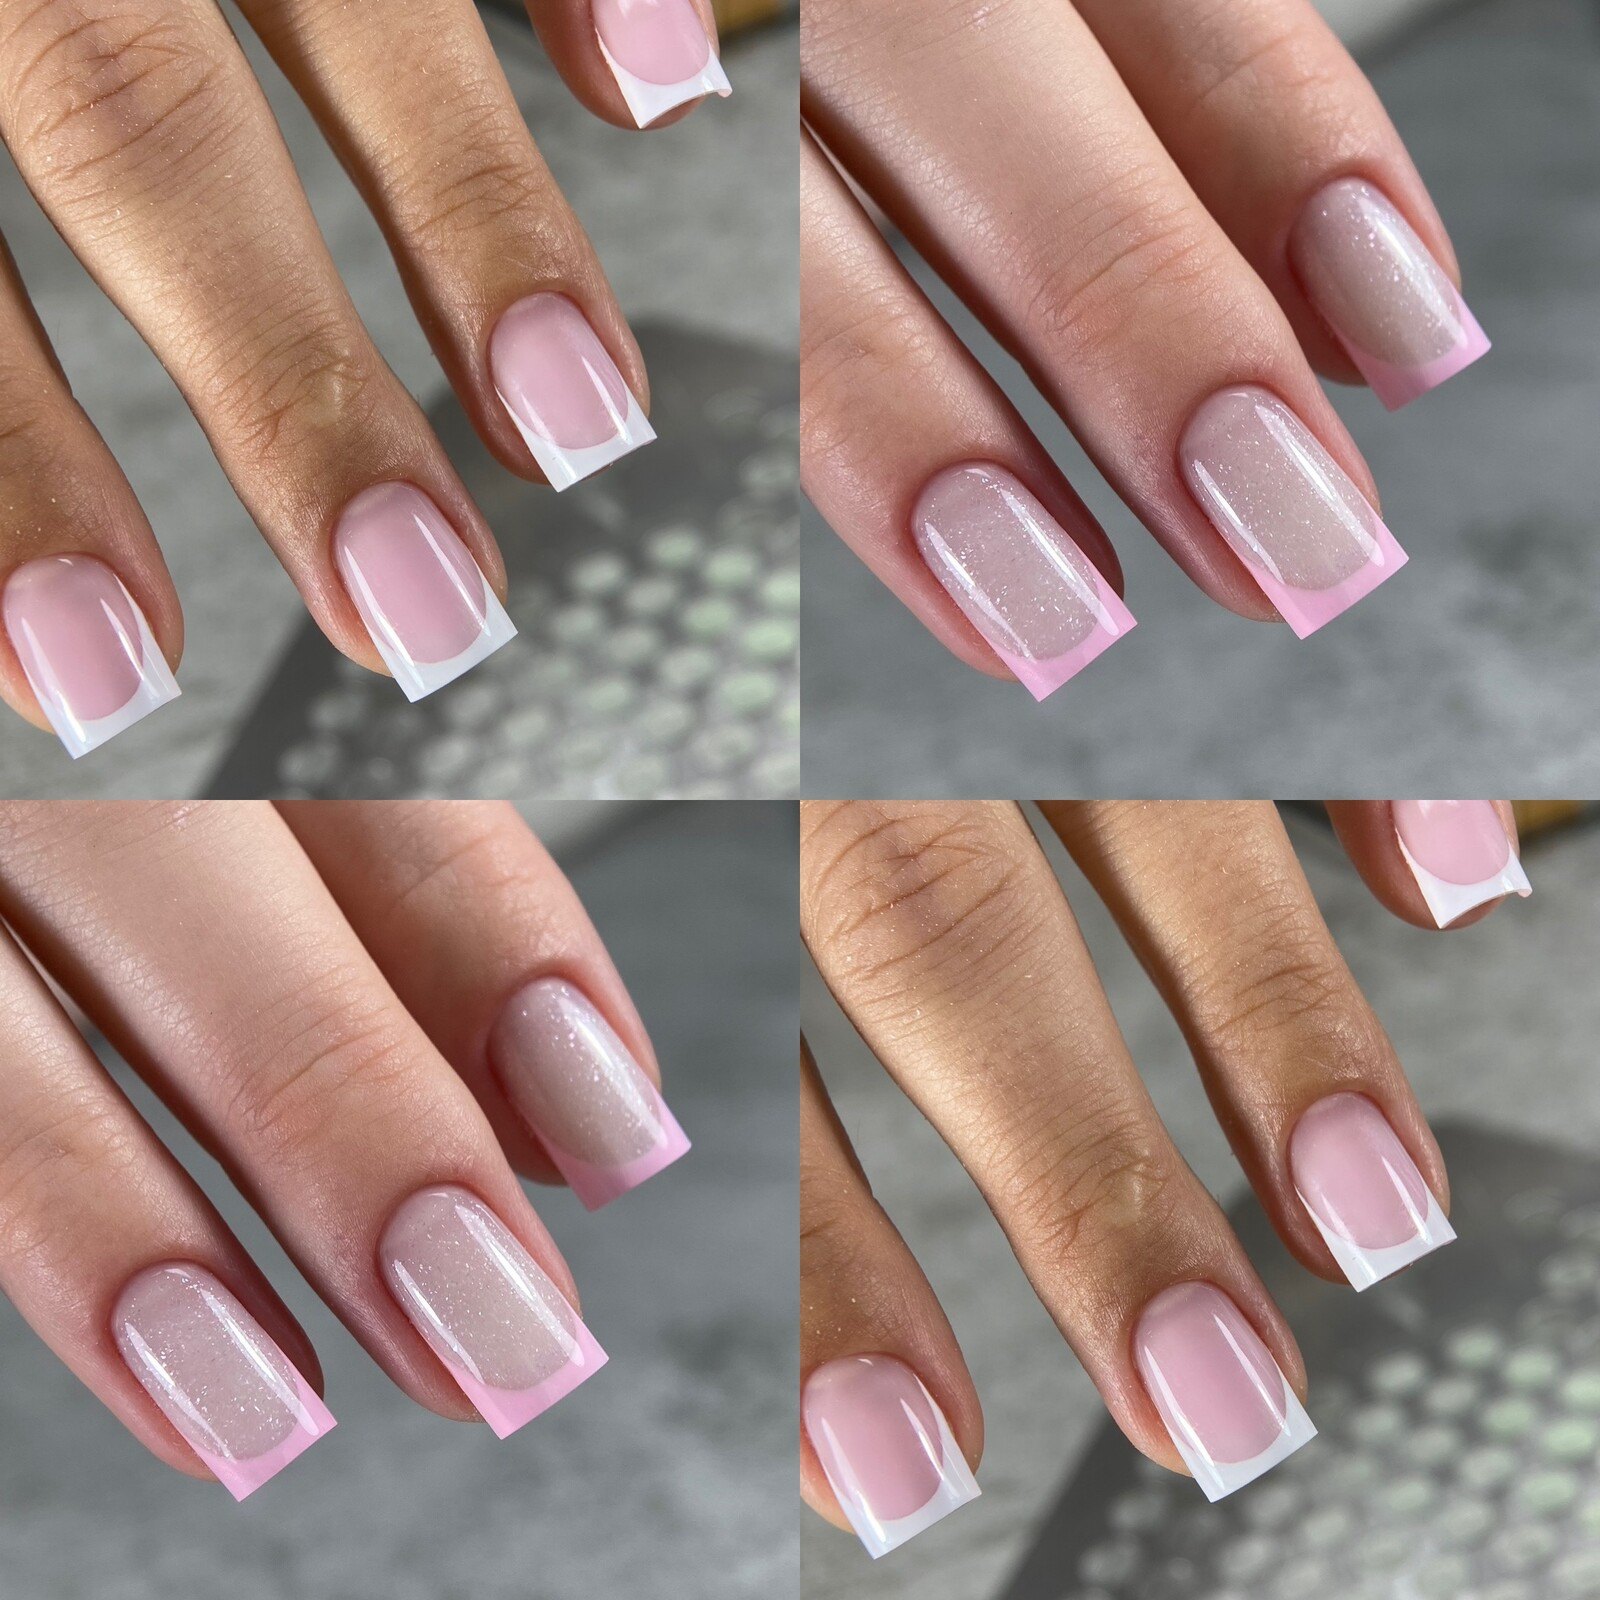
Cover black, white, short square, long square, almond, micro and natural French.
- Remove old coatings safely and efficiently
Take off material for a correction or remove it fully.
- 8
- modules
- 47
- video lessons
- 60
- days of access
- 4
- nail shapes covered in depth
Start with the foundation, not the file
The programme builds in a deliberate order. Before you pick up a file, you learn how a nail is constructed, what adhesion actually is and how different bases behave on different plates. A demonstration lesson shows how to test bases for aggressiveness and for their working properties.
The same approach applies to gels. You see them tested for plasticity, shrinkage and how well they hold an arch, so that your choice of material rests on observed behaviour rather than habit.
- Nail structure and adhesion explained
- Testing bases and gels in demonstrations
- Three techniques of working with gel
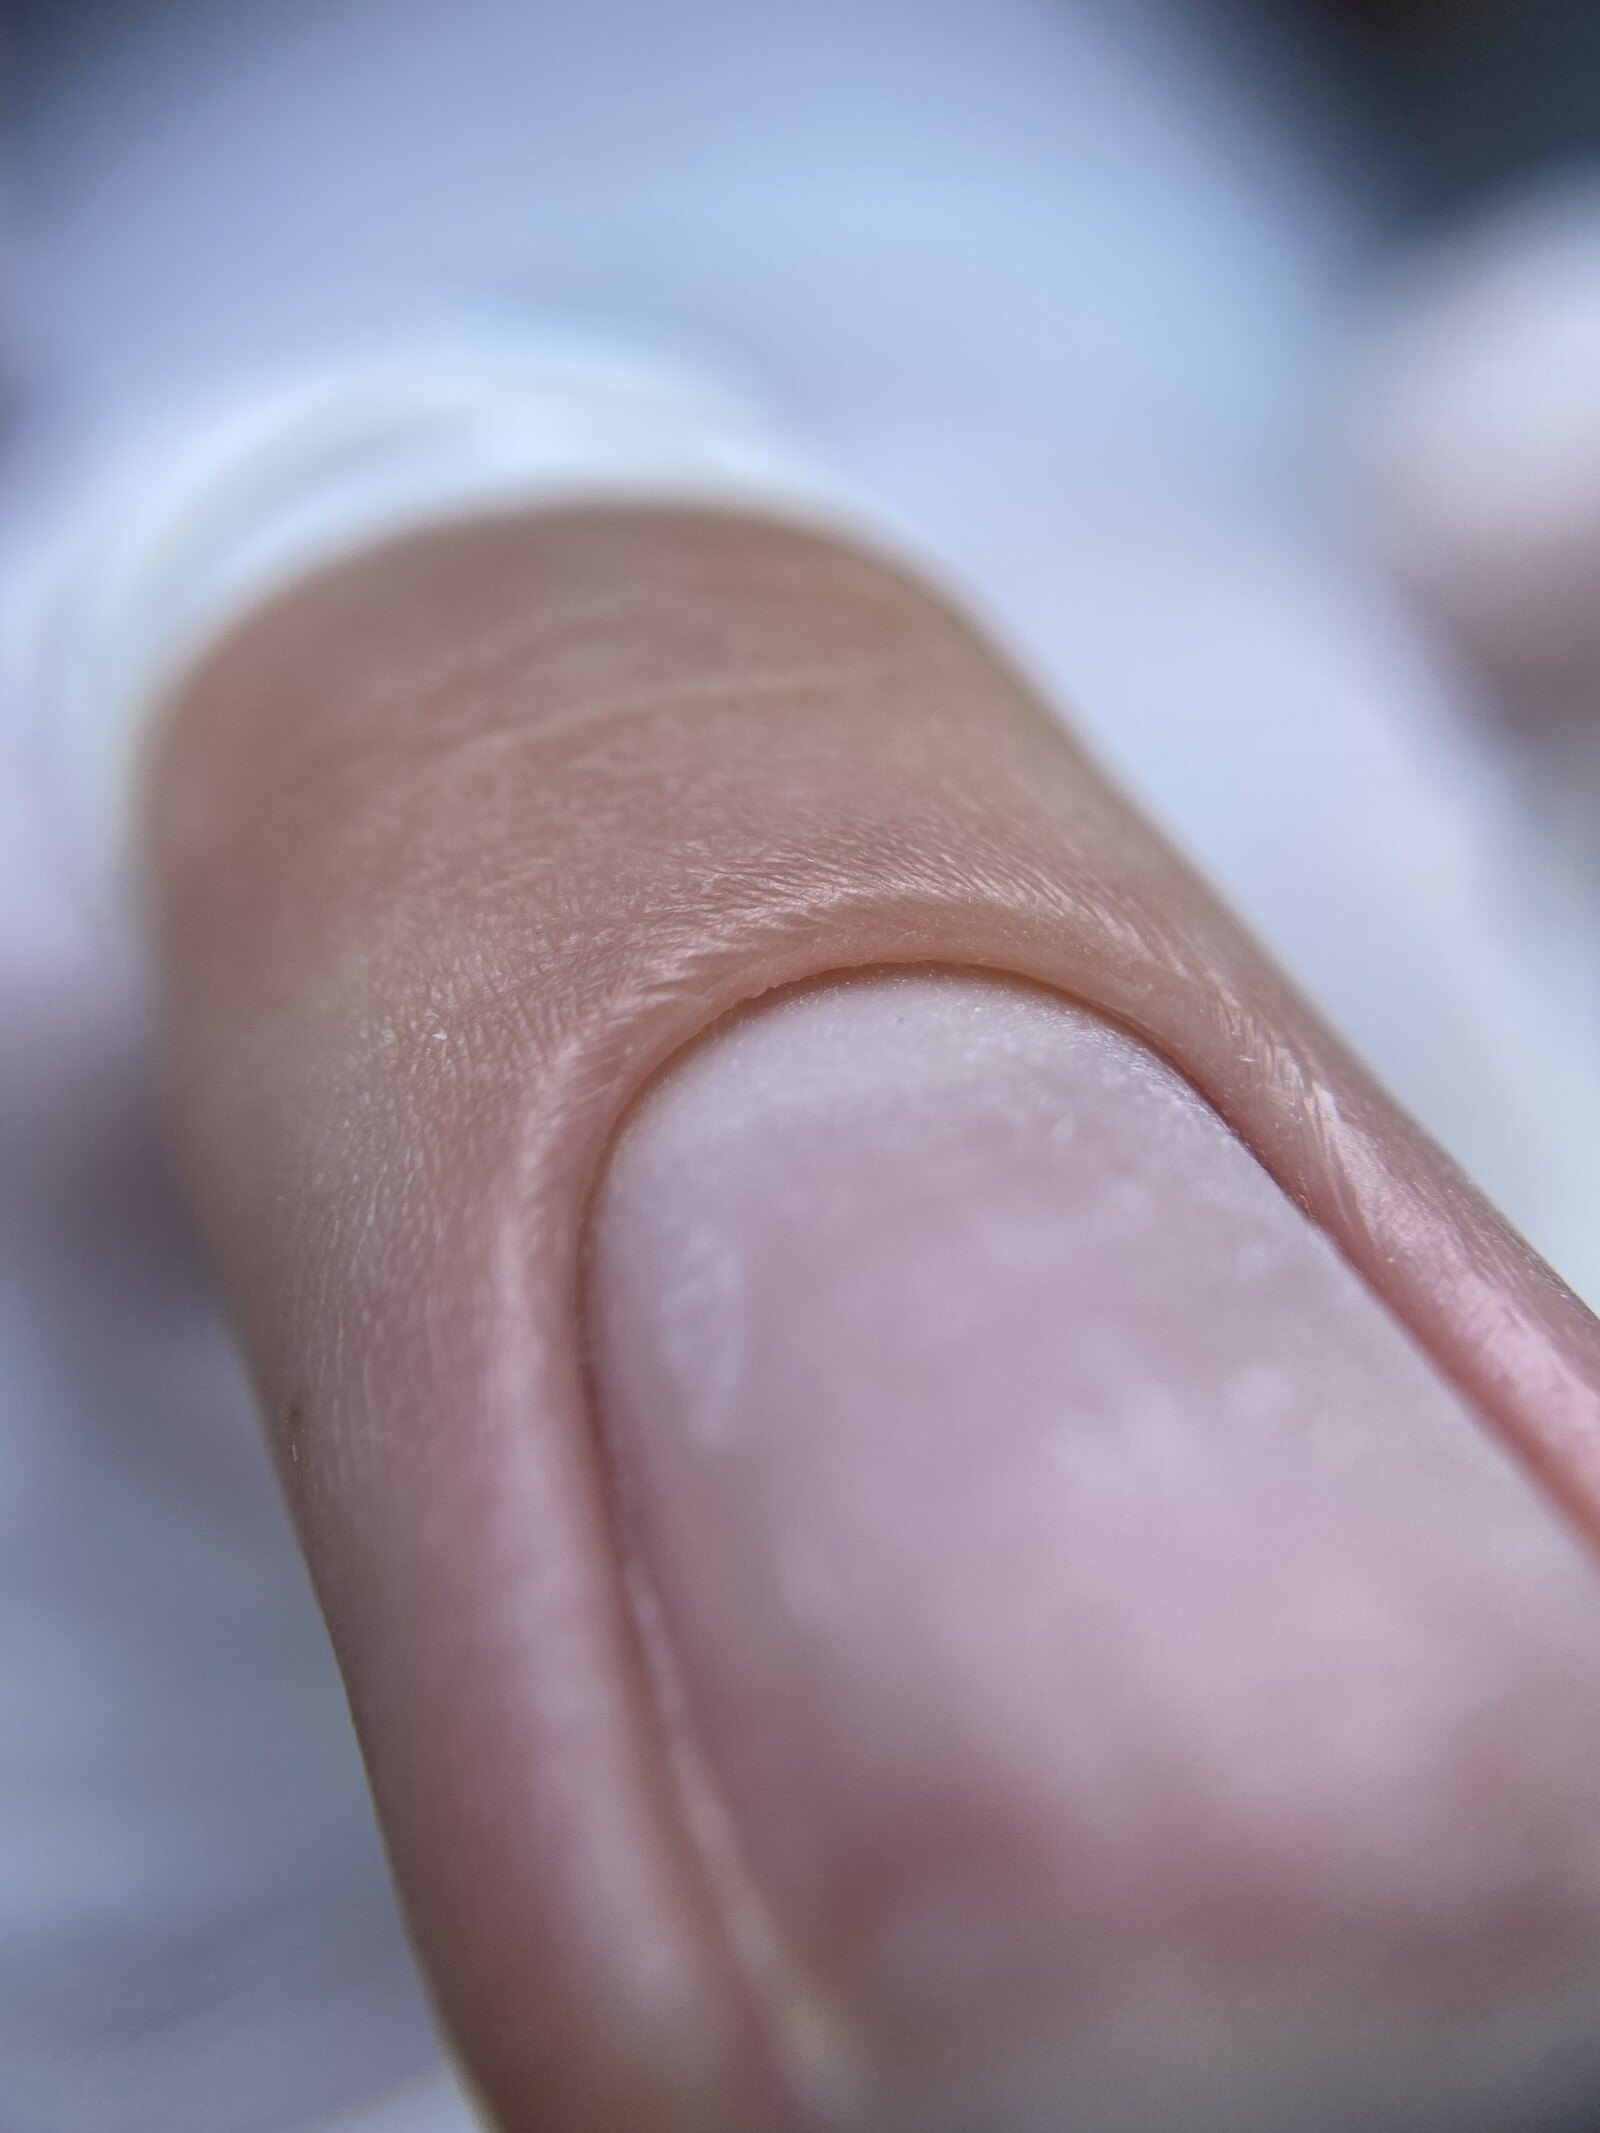
- Thin placement at the cuticle and side walls
How the course works
The course is a library of recorded video lessons that you watch at your own pace. Lessons open immediately after payment, and you have 60 days of access to work through them in any order that suits your practice. A general chat is introduced in the first lesson.
The material mixes short theory lessons, some with a cheat sheet you can keep beside you, and practical lessons. Demonstration lessons on a tip show each movement slowly, while shape lessons work on real fingers, including corrections of previously applied nails.
A sensible plan is to watch the preparation, gel and removal modules first, then choose the shape you work with most and practise it on a tip or a model before moving to the next. The lessons on special cases can be used whenever a client with unusual nails comes in.
The programme
Every module and lesson in the course, in the order it is taught. The introductory lesson comes first and covers the welcome and organisational points.
1Module 1 — Preparing the natural nailUnderstand the nail and prepare the plate so the coating stays put.6 lessons
- Theory: the structure of the nail
- Theory: what adhesion is
- Preparing different types of natural nails
- Demonstration: testing bases for aggressiveness and properties
- Practice: preparing a nail without coating
- Practice: applying an acid-free base correctly
2Module 2 — Gels, materials and architectureKnow what your products are made of and how they behave.6 lessons
- What gels and gel polishes are made of
- Theory: classification of gels
- Demonstration: testing gels for plasticity, shrinkage and arch strength
- Theory: nail architecture
- Theory: three techniques of working with gel
- Demonstration on a tip: thin gel at the cuticle and side walls
3Module 3 — Removal and combi manicureTake off material cleanly and prepare cuticles quickly and gently.6 lessons
- Theory: removing material
- Practice: detailed removal technique, including removal for a correction
- Practice: removing the coating completely with remover
- Practice: combi manicure step by step, from opening the pocket to trimming
- Practice: very thin, clingy cuticles and sensitive cuticles with capillaries
- Practice: working with lifted pieces and soft lunulae
4Module 4 — The square shapeFrom filing schemes to long, damaged and reshaped squares.6 lessons
- Theory: filing schemes cheat sheet
- Theory: architecture of the square
- Practice: laying out the material and detailed filing
- Practice: building side walls and stress ridges
- Practice: long square with a lift, and its correction
- Practice: tricky cases — curved nails, oval to square, large damaged finger
5Module 5 — Short nails and the oval shapeStrengthen very short nails and shape ovals of different lengths.6 lessons
- Theory: working with short nails
- Practice: strengthening from zero with the border technique
- Practice: soft gel on short nails without filing
- Practice: gel on short nails without filing
- Practice: strengthening a short oval
- Practice: restoring architecture on a long oval
6Module 6 — Almond and special casesAlmond technique plus the nails that need extra thought.6 lessons
- Practice: distributing the material correctly
- Practice: detailed filing of the almond
- Practice: restoring architecture with jelly gel on pinched and twisted walls
- Practice: long pinched almond with bit and file
- Theory and practice: upward-growing nails
- Practice: splicing technique and coating trapezoid nails
7Module 7 — Colour, top coat and FrenchFinish the work with clean colour coverage and several French styles.6 lessons
- Demonstration on a tip: applying colour
- Demonstration on a tip: applying top coat
- Practice: black and white colour coverage
- Practice: French on short and long square
- Practice: French on almond
- Practice: micro French and natural French
8Module 8 — Photos and videos of your workPresent your results so they look as good online as in person.5 lessons
- Equipment: lenses, lighting and phone
- How to shoot photos of nails
- How to edit photos
- How to film short videos and reels
- How to edit videos and reels
What you get
- 47 recorded video lessons
Theory, demonstrations and practical lessons across 8 modules.
- Cheat sheets
Filing schemes and material-selection guides to keep at your desk.
- Immediate access
Lessons open right after payment.
- 60 days to study
Enough time to watch, practise and rewatch the lessons you need.
- Real-case lessons
Corrections, damaged nails and unusual growth patterns, not only ideal examples.
- Photo and video guidance
A full module on presenting your work online.
- A general chat
Introduced in the first lesson.
- 14-day money-back guarantee
If the course is not for you, you can ask for a refund within 14 days.
Is this course for you?
This course is for you if…
- Manicurists who want their gel work to look thinner and more natural
- Nail technicians who struggle with difficult nail shapes or growth patterns
- Beginners who want to start with gel strengthening and learn a clear system
- Professionals who want faster, more efficient combi manicure
- Anyone planning to build a client base and show their work well online
Probably not a fit if…
- People looking for a live, one-to-one coaching experience
- Those who want to learn nail extensions with forms or sculpting from scratch
- Anyone who does not intend to practise on a tip or on real nails
- Readers hoping for a guaranteed business result without hands-on practice
After the course
You will approach a client's hand with a method. You will know how to assess the nail plate, choose a base and a gel that suit it, and decide whether the shape calls for filing or a build-up.
Difficult nails will feel less intimidating. When you see an upward-growing nail, a pinched wall or a sensitive cuticle, you will have a lesson to return to and a technique to apply.
Your finished work will also be easier to present. With the photo and video module you can show your results clearly, which helps new clients see the quality you deliver.
Quality is a skill built by repetition. The course gives you the techniques; the improvement comes from using them on tips and on live hands during your 60 days of access and beyond.
Questions before you buy
How much time do I need per week?
The course is self-paced, so it depends on you. Many learners set aside a few hours a week for watching and practising. With 60 days of access, plan the lessons around your working schedule.
Do I need previous experience?
Some basic familiarity with gel products and tools helps, but the programme starts with the structure of the nail and the basics of adhesion. Beginners can follow it if they practise alongside the lessons.
How does access work after payment?
Lessons open immediately after payment. You can start watching straight away, on a computer or a phone.
What is the refund policy?
You can request a full refund within 14 days of purchase if the course is not what you expected.
What format are the lessons in?
Recorded video lessons, split into theory lessons, demonstrations on a tip and practical lessons on live nails. Cheat sheets are included for several topics.
Does the material stay available?
Your access lasts 60 days from purchase, and during that time all lessons stay available to rewatch as often as you like. Plan your study so you can cover everything you need within that period.
Do I need special equipment?
You will need the usual tools of a manicurist: a lamp, a bit machine and files, gels and bases. The lessons show the materials and combinations used, and you can adapt them to the products you already own.
Can I practise without a model?
Yes. Several lessons are demonstrated on a tip, and you can practise the same movements on a tip before moving to live clients.
Start building stronger, thinner coatings
Get immediate access to all 47 lessons and work at your own pace for 60 days.