Beauty · All levels
Handle difficult feet with a clear, dust-free protocol
A self-paced programme that turns cracked, flaky and over-moist skin into a predictable, repeatable pedicure result.
- 25 recorded lessons
- 12 combinable protocols
- Six crack-opening techniques
- Printable protocol cards
- 14-day money-back guarantee
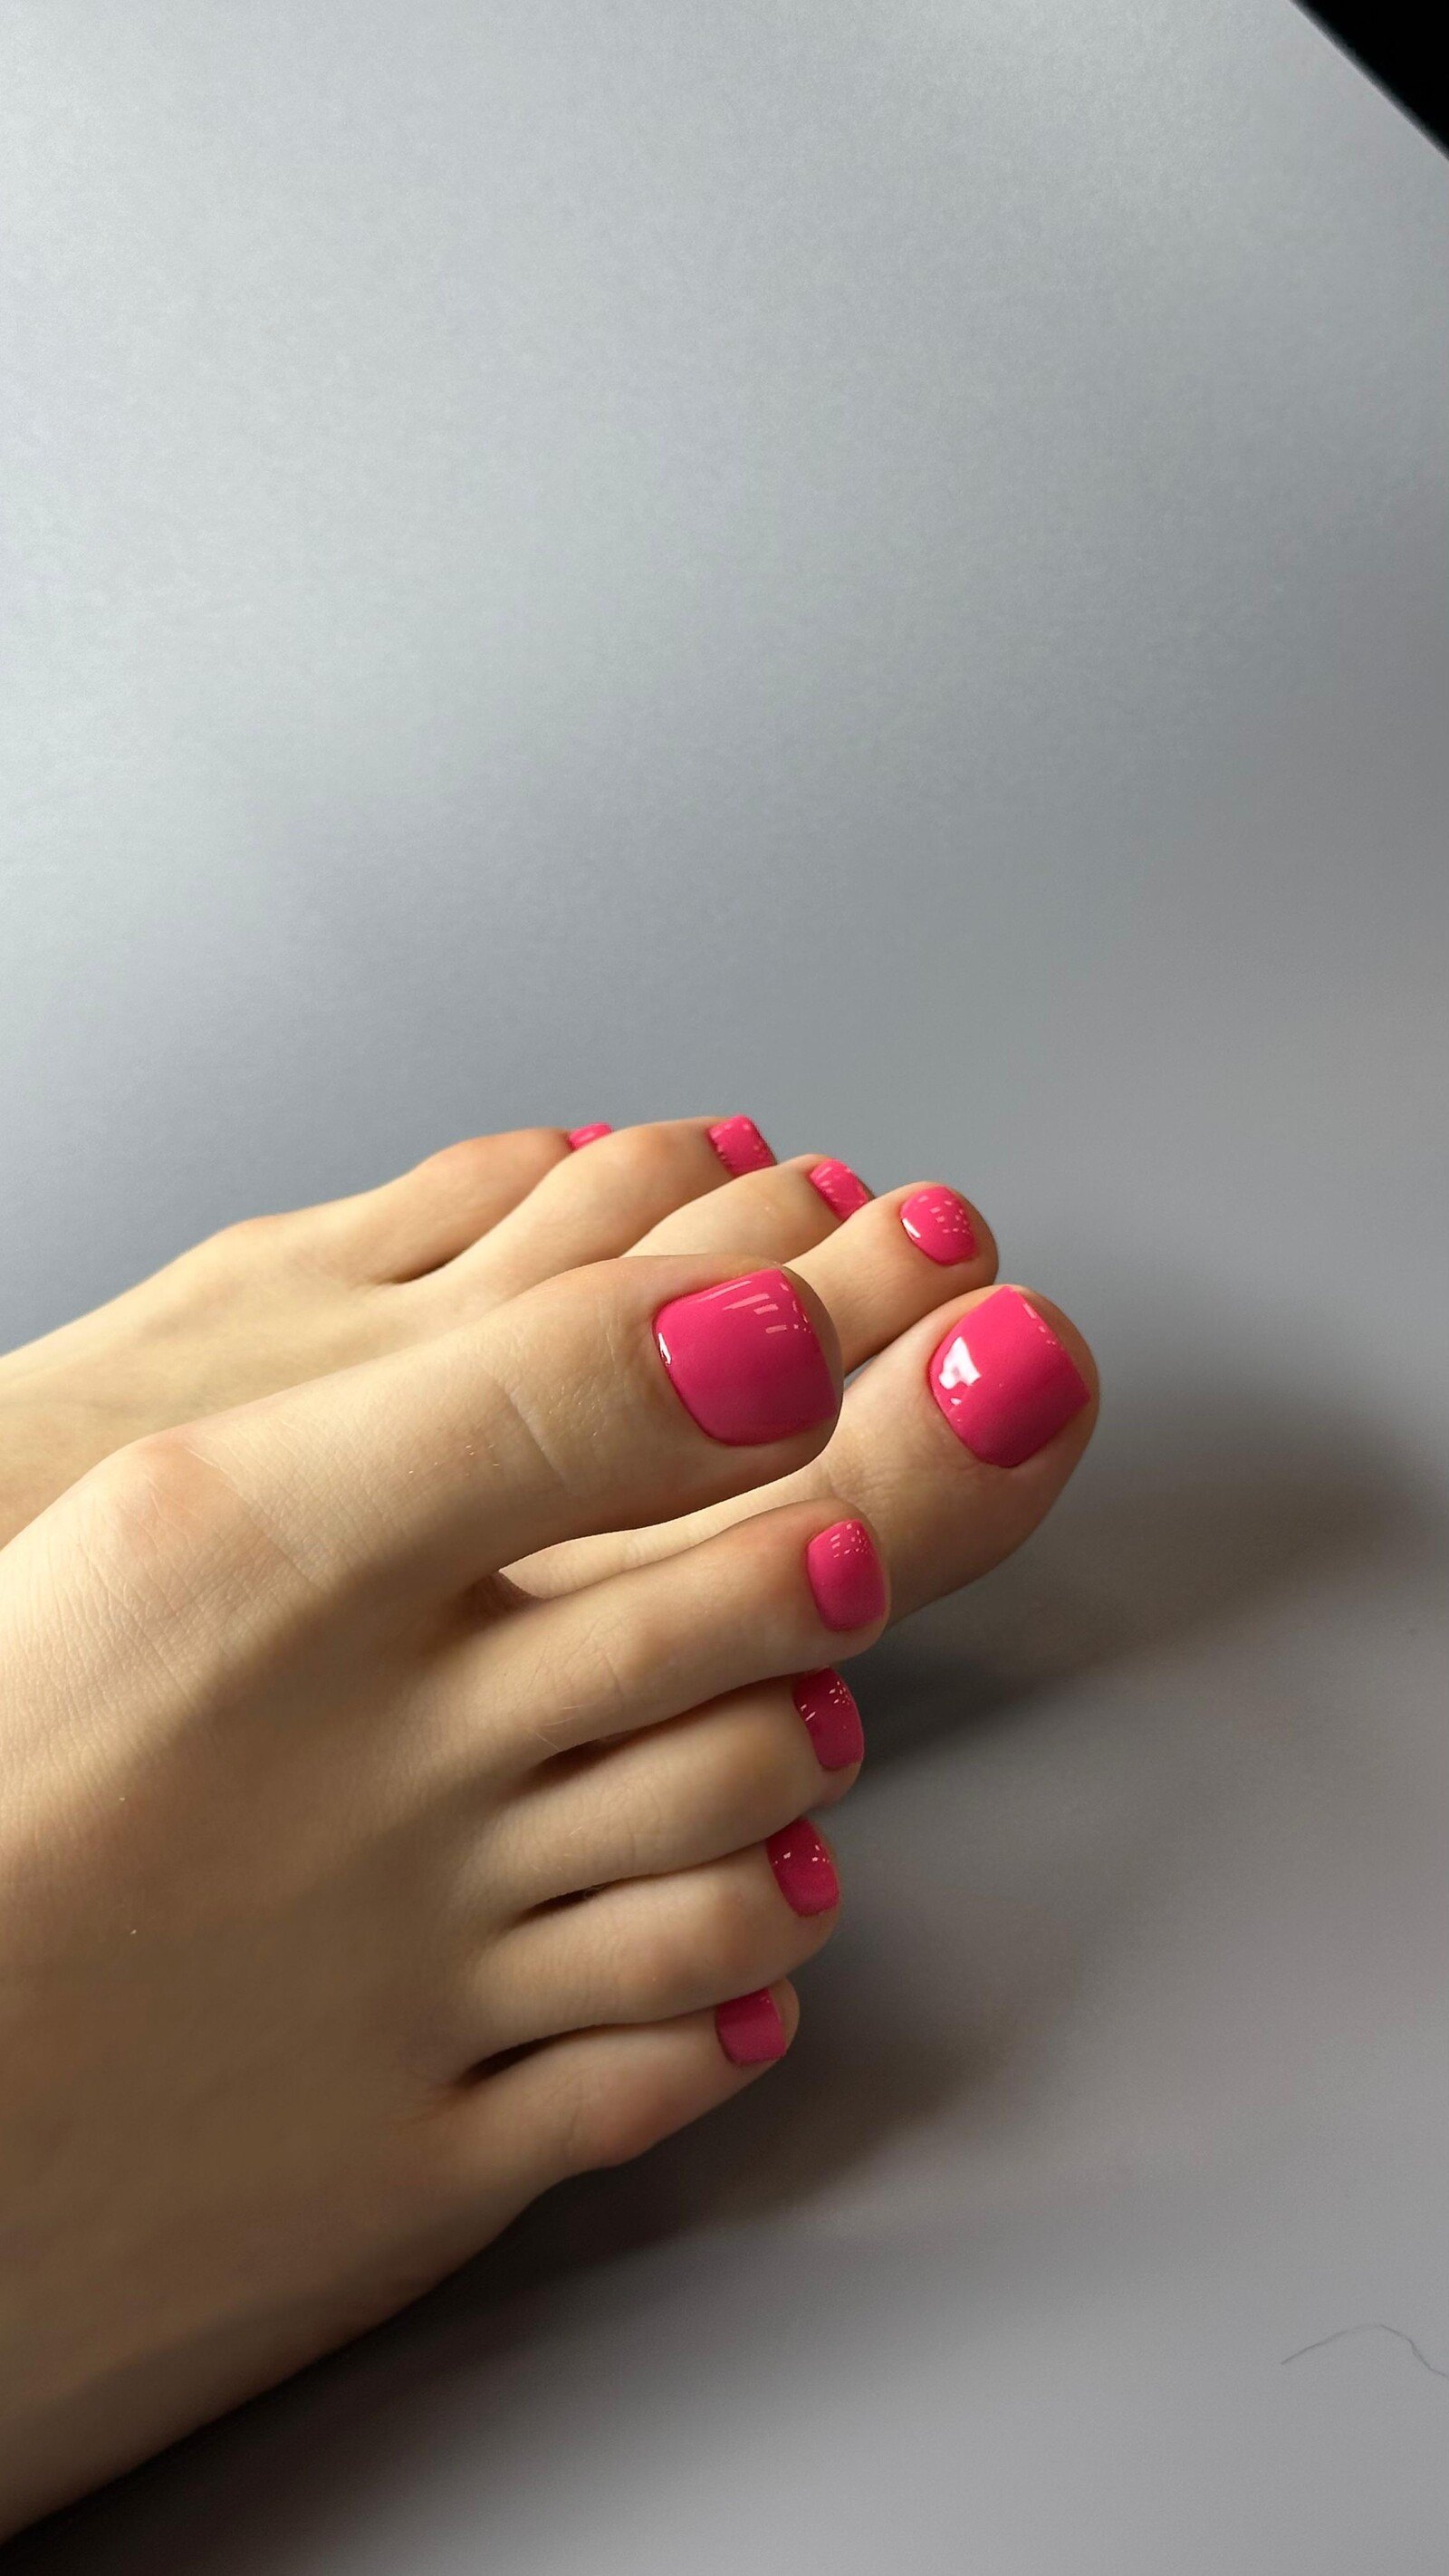
Why difficult feet still slow you down
Most pedicure training teaches one way to hold a disc and one way to open a crack. That works until a client sits down with skin that does not match the textbook: a mesh of fine cracks, a deep layered split, skin so moist the bit skates across it, or a dense rubbery heel that refuses to polish smooth.
The result is familiar. You spend an hour on one pair of feet, leave part of the keratin behind, and the finish that looked clean under the lamp is gone in ten days. The client books again later, or does not book at all, and you are never quite sure which part of the procedure let you down.
SMART 2.0 was built to remove that guesswork. Instead of a single formula, it gives you a way of reading the skin before you start and a set of protocols you combine like a constructor, so the choice of technique follows from what you see rather than from habit.
This programme is the recorded, self-paced version of that method. You work through the theory and the close-up demonstrations in your own time, then practise on your own models with checklists that tell you what a correct result actually looks like.
What you will be able to do
By the end of the programme you will have a decision path for the feet that used to slow you down.
- Assess foot skin before you start
Read density, moisture, flaking and tone, and choose the protocol that fits the skin in front of you.
- Open six different types of cracks
Match the opening technique to the crack — fine mesh, deep layered, dry, moist or dense keratin.
- Work on very moist skin without fighting it
Use aerosol protocols that bring the skin into a workable state during the procedure instead of before it.
- Reduce dense, mesh-patterned keratin in minutes
Replace long filing sessions with a sequence that leaves a smooth surface without over-working the skin.
- Build a membrane finish that holds
Finish the pedicure so the surface stays even and smooth for weeks rather than days.
- Combine protocols for mixed cases
Handle the client who is both moist and cracked, or flaky and dense, by layering protocols in the right order.
- Support the result with peptide aftercare
Explain pH, microbiome and peptide care in plain words and give home routines that protect your work.
- Price and present the service properly
Turn a protocol-based pedicure into a clear service offer with home-care recommendations attached.
- 25
- recorded lessons
- 6
- modules
- 12
- combinable protocols
- 6
- crack-opening techniques
Twelve protocols instead of one formula
The core of the method is a small library of protocols, each written for a specific state of skin: fine mesh cracks, deep layered cracks, sensitive skin, dry keratin, very moist skin, dense rubbery heels, and the combinations that appear in real appointments.
Because each protocol describes what to do, in what order and with which product, you stop improvising. You assess, you pick, you combine — and the result becomes repeatable, which is what makes a pedicure worth rebooking.
The programme also covers the seasonal side: winter protocols for skin stressed by heating and heavy footwear, and summer protocols for sandals, sun and water.
- Assessment first, technique second
- Protocols that stack for mixed cases
- Winter and summer variations
- A written finish standard for every step
How the course works
The programme is fully self-paced. Every module opens with short theory lessons that explain why a step exists, then moves to filmed demonstrations where the technique is shown close up on real feet, at working speed and then slowed down.
After each module you get a practice assignment. You work on your own models, film or photograph the result, and check it against the review sheet: is the membrane even, is the edge clean, did the crack close, does the surface still feel smooth the next day. There are no live sessions to attend and no schedule to keep.
Everything sits in your learning account: video lessons, printable protocol cards, the assessment checklist and the home-care templates. You can pause on a module for a month, come back, and rewatch the demonstration before an appointment.
The programme
Six modules, twenty-five lessons, built to be studied in order and then used as a reference library.
1Module 1 — Foundations of skin and the dust-free approachWhat you are actually working on, and why the method looks different from a classic pedicure.4 lessons
- How keratinised skin is built: layers, moisture and why thickness varies
- Reading a foot before you touch it: density, moisture, flaking and tone
- Why the dust-free approach works: tools, speeds and controlled pressure
- Setting up your station: hygiene, lighting, products and timing
2Module 2 — The core techniqueThe sequence that every protocol is built on, demonstrated from preparation to finish.4 lessons
- Preparation: cleansing, softening and the first assessment
- Instrument handling for smooth, controlled passes
- Building the membrane: the finish that makes a pedicure last
- Polishing and finishing without dust or over-filing
3Module 3 — Cracks: six ways to open and close themMatching the opening technique to the type of crack instead of forcing one method on every foot.5 lessons
- Mapping crack types: mesh, deep layered, dry, moist and keratotic
- Techniques one and two: fine mesh and surface cracks
- Techniques three and four: deep layered cracks and sensitive skin
- Techniques five and six: dry and dense keratin variations
- Closing the crack: membrane, sealing and home-care instructions
4Module 4 — Moist and dense skin: aerosol and combination protocolsThe two skin states that defeat a disc, and the protocols written for them.4 lessons
- Why very moist skin behaves differently under the bit
- Aerosol protocols that restore hydro-balance during the procedure
- Dense, rubbery and mesh-patterned skin without endless filing
- Combining protocols like a constructor for mixed cases
5Module 5 — Peptide and probiotic restorationThe aftercare half of the method: what happens to skin after exfoliation and how to protect the result.4 lessons
- What peptides and probiotics do in a cosmetic foot protocol
- Rebuilding pH and the skin microbiome after exfoliation
- Winter and summer protocols: protecting the result in extreme conditions
- Home-care routines that keep the surface smooth between visits
6Module 6 — Practice, clients and your serviceTurning the technique into work you can repeat, review and sell with confidence.4 lessons
- Filming and reviewing your own work against the demonstration
- Practice assignments: three case types, step by step
- Building a service menu and pricing a protocol-based pedicure
- Home-care recommendations, follow-up and client retention
What you get
- 25 recorded video lessons
Theory and close-up demonstrations, watchable in any order.
- Twelve printable protocol cards
One page per protocol, with the order of steps and the products used.
- Six crack-opening demonstrations
Filmed close up, at working speed and slowed down.
- A skin-assessment checklist
The same questions to ask yourself at every appointment.
- Practice assignments with review sheets
Three case types to work through on your own models.
- Winter and summer protocol guides
Seasonal adjustments for the same technique.
- Home-care recommendation templates
Ready-made routines to hand to clients.
- A private graduate community
An online space to compare cases and read recorded case reviews.
- Lifetime access and updates
Rewatch any lesson before an appointment, and keep new material.
Is this course for you?
This course is for you if…
- Nail technicians who already do pedicures and want a system for the feet that currently slow them down
- Beginners who would rather learn a structured, dust-free technique from the start than collect scattered tips
- Masters who trained in an earlier version of this technique and want the updated protocols and seasonal variations
- Salon owners who want one consistent standard of pedicure across their team
Probably not a fit if…
- Anyone looking for medical diagnosis or treatment of a skin condition — this is a cosmetic technique programme
- People who want live hands-on supervision from a trainer; this is a recorded, self-paced course
- Those who are not willing to practise on models between modules — the assignments are where the technique settles
- Complete beginners expecting to work with no tools or professional products at all
After the course
The first thing that changes is your speed. Feet that used to take an hour of cautious filing are assessed in a couple of minutes and worked through a sequence you already know, so the appointment finishes cleaner and with less guesswork.
The second change is the finish. Because the membrane is built properly and the aftercare matches the skin type, the surface stays smooth for weeks instead of days, and clients notice the difference without being told about it.
The third change is how you talk about your work. You can explain what you did, why this protocol and not another, and what the client should do at home — which is exactly what turns a one-off pedicure into a regular booking.
Questions before you buy
How much time do I need each week?
Plan on three to four hours a week: about 60 to 90 minutes of video and roughly two hours of practice on a model. The programme is self-paced, so you can spread it over six weeks or move through it faster if you already work with feet daily.
Do I need previous pedicure experience?
No. The first two modules assume you are starting from the basics and explain the tools, the pressure and the order of steps. If you already work as a technician, those lessons double as a check on habits you may have picked up.
How do I get access after payment?
As soon as the payment is confirmed you receive an email with your login to the learning account, and every module is unlocked from the first day. There is no start date and nothing to wait for.
What if the course is not for me?
You have 14 days from purchase to ask for a refund. Write to our support address from the email you ordered with, and the payment is returned — no long explanation required.
What format are the lessons in?
Recorded video lessons with close-up demonstrations, supported by written protocol cards, checklists and templates you can print. There are no live sessions and no fixed schedule; you watch when it suits you.
How long does the material stay available?
Access does not expire. Your account keeps the lessons, the protocol cards and any material added to the programme later, so you can return to a demonstration before an appointment months from now.
What tools and products do I need?
A standard pedicure setup: a disc machine with suitable bits, files, cuticle tools, disposable consumables and towels. The first module lists the full kit and explains which items matter most. You can start with what you already own, though the finish depends on using professional products.
Do I need models to practise on?
Yes. The assignments are written for three case types, and you complete them on your own models, then review the result against the sheet provided. That review step is what turns watching into doing.
Is this the same as other pedicure techniques?
It is a distinct system built around assessment and combinable protocols. It does not duplicate other methods you may have studied; it gives you a decision framework that sits alongside them and covers the cases they leave open.
Start with the feet in front of you
Twenty-five lessons, twelve protocols and a finish standard you can repeat on every client — available in your account immediately after payment.