Creative · All levels
Learn to draw a human portrait, one clear step at a time
A structured video programme that takes you from proportions and tone to finished portraits in dry brush, pastel and oil.
- 34 video lessons
- Three stages of learning
- Four drawing techniques
- Bonus materials
- One year of access
Why portraits feel so hard to draw
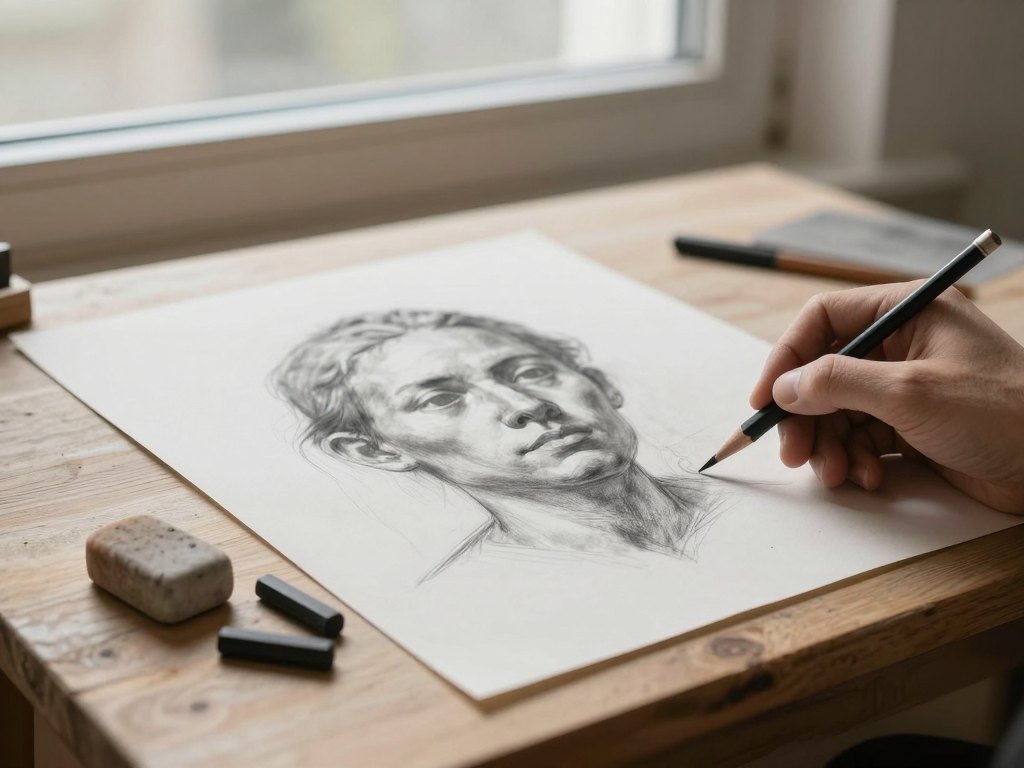
Almost everyone who likes drawing wants to draw people sooner or later, and almost everyone gets stuck at the same point. The eyes are in the wrong place, the head looks flat, the face seems to belong to a stranger. It is easy to conclude that you simply have no talent for it.
In most cases the problem is not talent but order. A portrait is built in layers: first proportions, then the angle of the head, then light and shadow, and only after that colour and detail. When these steps are learned out of sequence, or skipped, the result is frustrating no matter how carefully you work.
This course is a step-by-step system for adult hobby artists who want to learn that order. It starts with the foundations of the human head and gradually moves through four different techniques, so you see how the same principles work with a dry brush, with pastel and with oil paint.
The lessons are recorded, so you can pause, repeat a stage and draw alongside the video at your own speed. You do not need to be an expert to begin, and if you already draw, the later stages give you a structured way to improve.
What you will be able to do
By working through the lessons you will build these skills in a sensible order.
- Place the features in correct proportion
Use simple construction to position the eyes, nose and mouth so the face looks right.
- Draw the head from different angles
Understand how the shape of the face changes when the head turns, tilts or looks up.
- Show volume with tone
Use light, shadow and halftones to make a flat drawing look three-dimensional.
- Create portraits in black-and-white dry brush
Learn a technique that trains your eye for tone before you add colour.
- Work with colour in dry brush
Carry the tonal skills you have learned into a colour portrait.
- Draw a portrait in pastel
Choose and blend shades to describe skin, hair and mood.
- Paint a portrait in oil
Move from a structured drawing to a painted result with a clear sequence of steps.
- Choose the technique that suits you
Compare the materials and decide which one you want to continue with.
- Plan a portrait from start to finish
Know what to do first, what to leave for later and when a work is complete.
- 34
- video lessons
- 3
- stages of learning
- 4
- techniques: dry brush in black-and-white and in colour, pastel, oil
- 1 year
- of access
The method: learn the structure first, then the material
The programme is built on one idea: the structure of a portrait is the same whatever you draw it with. Proportions, angles and tone do not change when you swap a brush for a pastel stick. So the course teaches these foundations first, and only then introduces each material as a new way to express them.
You begin with black-and-white dry brush, because working in a single colour lets you concentrate entirely on shape and tone. Once your eye is trained, colour is added in a second dry brush block. Pastel then shows you a more tactile, soft approach, and oil painting brings everything together in a richer, layered technique.
Each lesson shows the work as it happens, so you see not only the finished result but the decisions along the way: where to start, how to check your proportions, when to step back and compare. Following this sequence makes it much easier to see why a drawing works or does not, and to fix it yourself.
How the course works
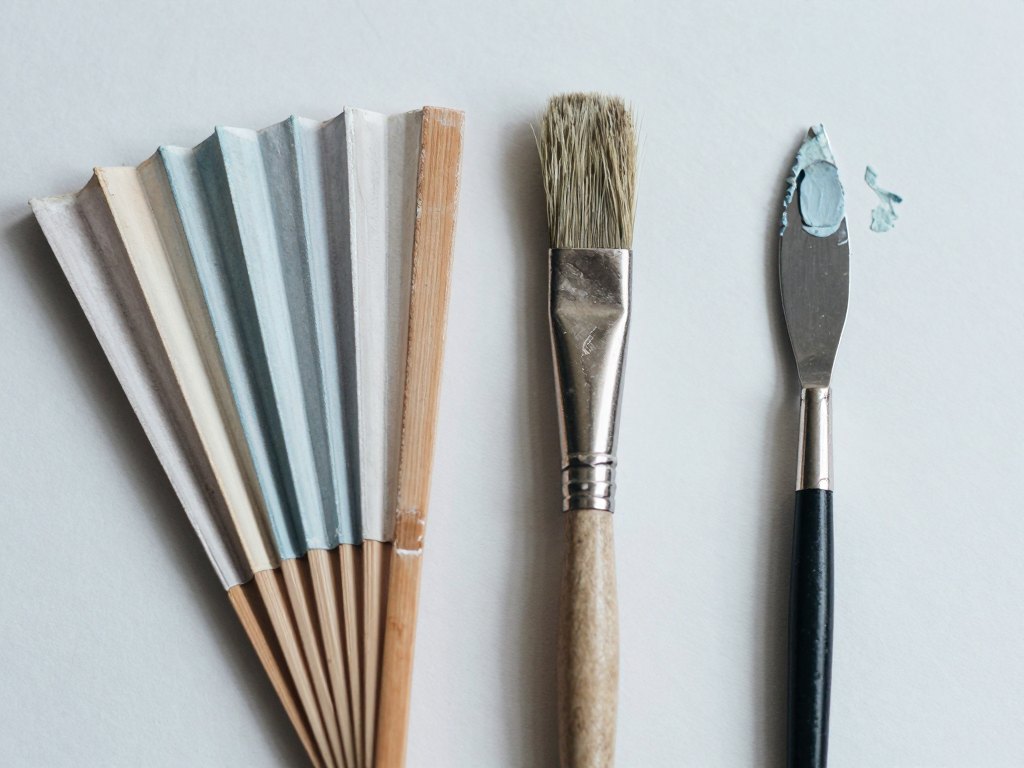
The course is made up of recorded video lessons organised into three stages, plus bonus material. You can start as soon as your payment is confirmed and move through the stages in order. There are no fixed class times, so you can fit drawing into the evenings or weekends that suit you.
A good rhythm for most people is one lesson a week, which gives you time to practise between lessons. If you prefer to move faster, you can complete several lessons in a row. If a stage is difficult, you can watch it again as often as you like during your access period.
Practice is the heart of the programme. Each lesson is designed to be followed with materials in front of you, so you draw along and finish a piece rather than just watch. You will need basic drawing and painting supplies, and the lessons mention what to prepare as each technique is introduced.
Access lasts one year from purchase, which is enough time to go through the whole programme, repeat the parts you enjoy and try each technique more than once.
The programme
The lessons are grouped by topic across three stages. Within each group you will work through the following steps.
1Foundations of the human headProportions, angles and tone, the basis for everything that follows.
- Finding the proportions of the face
- Placing the eyes, nose and mouth
- Turning the head: how angles change the shape
- Light, shadow and halftones on the face
2Black-and-white dry brush portraitBuild a portrait using only tone to train your eye.
- Preparing the paper and the brush
- Constructing the head with light strokes
- Building volume with layers of tone
- Refining the details and finishing the work
3Dry brush portrait in colourBring colour into the tonal method you have just learned.
- Choosing a limited colour palette
- Laying down transparent colour layers
- Warm and cool shades in skin
- Finishing touches and final assessment
4Portrait in pastelA softer, more tactile technique for describing the face.
- Materials and basic pastel strokes
- Blending and building skin tones
- Drawing hair and shaping the contour
- Adding accents and completing the portrait
5Portrait in oilMove from a structured drawing to a painted result.
- Preparing the surface and the underdrawing
- Tonal underpainting in oil
- Introducing colour layer by layer
- Working on details and completing the painting
6Bonus materialAdditional lessons that extend what you have practised.
- Extra practice exercises for proportions and tone
- Tips for comparing and correcting your own work
What you get
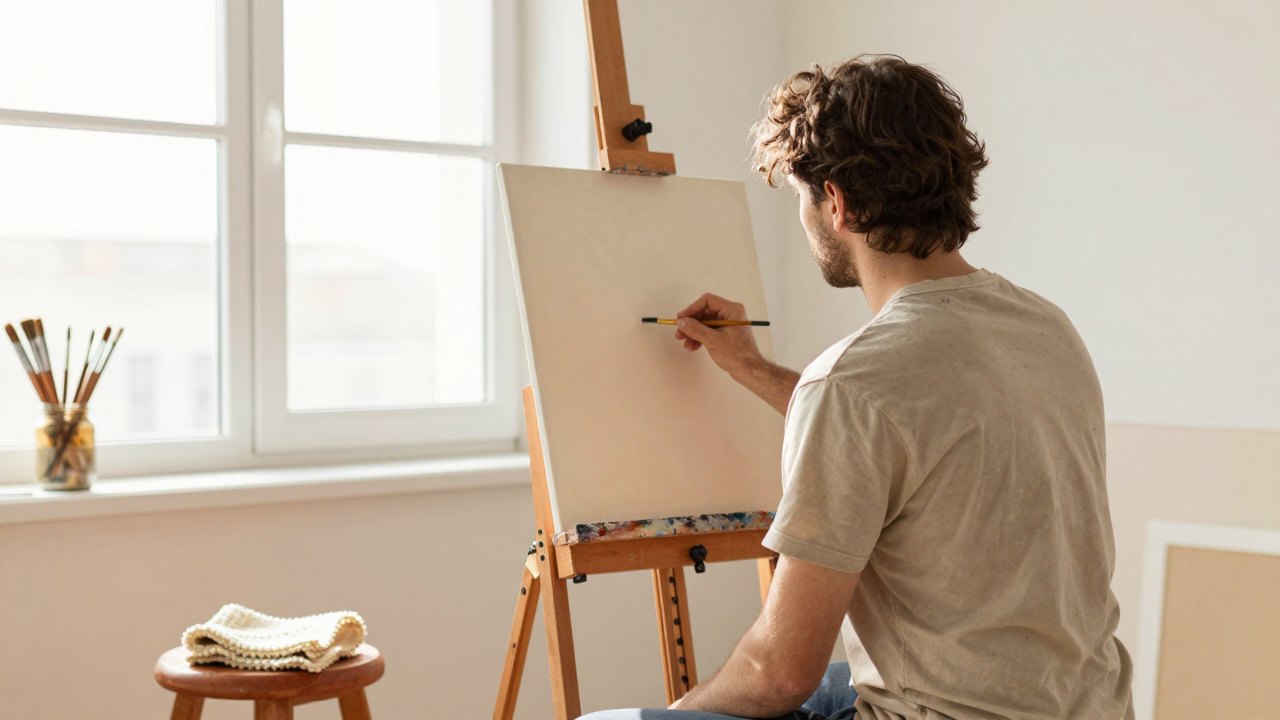
- 34 recorded video lessons
Organised in three clear stages so you always know what comes next.
- Four techniques in one programme
Dry brush in black-and-white and in colour, pastel and oil.
- Bonus materials
Extra content that supports and extends the main lessons.
- Study at your own pace
Pause, rewind and repeat any step whenever you need to.
- One year of access
Enough time to finish the programme and return to the parts you like.
- Immediate start
Open the first lesson as soon as your payment is confirmed.
- 14-day refund policy
If the course is not what you expected, you can ask for your money back within 14 days.
Is this course for you?
This course is for you if…
- Adults who enjoy drawing or painting as a hobby and want to learn portraits properly
- Beginners who want a clear order of steps instead of random tutorials
- Those who already draw and want to strengthen proportions, tone and colour
- People curious to compare dry brush, pastel and oil and find the technique they like
Probably not a fit if…
- Anyone looking for a quick trick that replaces regular practice
- Those who do not want to buy any drawing or painting materials
- People who want live, one-to-one correction of every drawing
- Artists who already paint portraits confidently and need only advanced composition lessons
After the course
When you finish the programme, you will have worked through the whole path of a portrait several times, in different materials. You will know how to check proportions before committing to detail, how to use tone to give a face volume, and how to bring colour in without losing the structure.
You will also have a small body of finished work that shows your progress, from the first tonal studies to a pastel and an oil portrait. Many people find that this is the moment they stop thinking that they cannot draw faces.
Just as importantly, you will know which material you enjoy most and why. That makes it easier to decide what to practise next, whether it is more portraits of people you know or a different subject using the same methods.
Questions before you buy
How much time do I need each week?
It is up to you. Many students work through one lesson a week, which usually means a couple of hours including practice. You can go faster or slower within your year of access.
Do I need any previous experience?
No. The programme starts with the basics of proportion and tone. If you already draw, you can use the later stages to deepen your skills.
What materials will I need?
Basic drawing and painting supplies such as paper, brushes and paints. Pastel and oil are introduced in their own stages, so you can buy those materials when you reach them.
How does access work after payment?
Once your payment is confirmed, you receive access to the lessons straight away. Your access lasts one year from the date of purchase.
What format are the lessons in?
They are recorded video lessons that you watch online at any time. You can pause and repeat them, and there is no fixed schedule.
Will the material stay available?
Yes, for the whole access period of one year. You can rewatch any lesson as many times as you like during that time.
Can I get a refund?
Yes. If the course is not right for you, you can request a refund within 14 days of purchase.
Do I have to learn all four techniques?
You can follow the full path or focus on the stages that interest you most. The foundations at the start are recommended for everyone.
Start drawing portraits this week
Open the first lesson today and learn the structure behind every good portrait.