Creative · Beginner
Paint photorealistic pictures with dry pastel, even if you have never drawn
A step-by-step programme of 55 video lessons that takes you from your first strokes to finished pastel paintings in different genres over about two months.
- 55 video lessons
- About two months of study
- No art experience needed
- Several painting genres
- 14-day refund policy
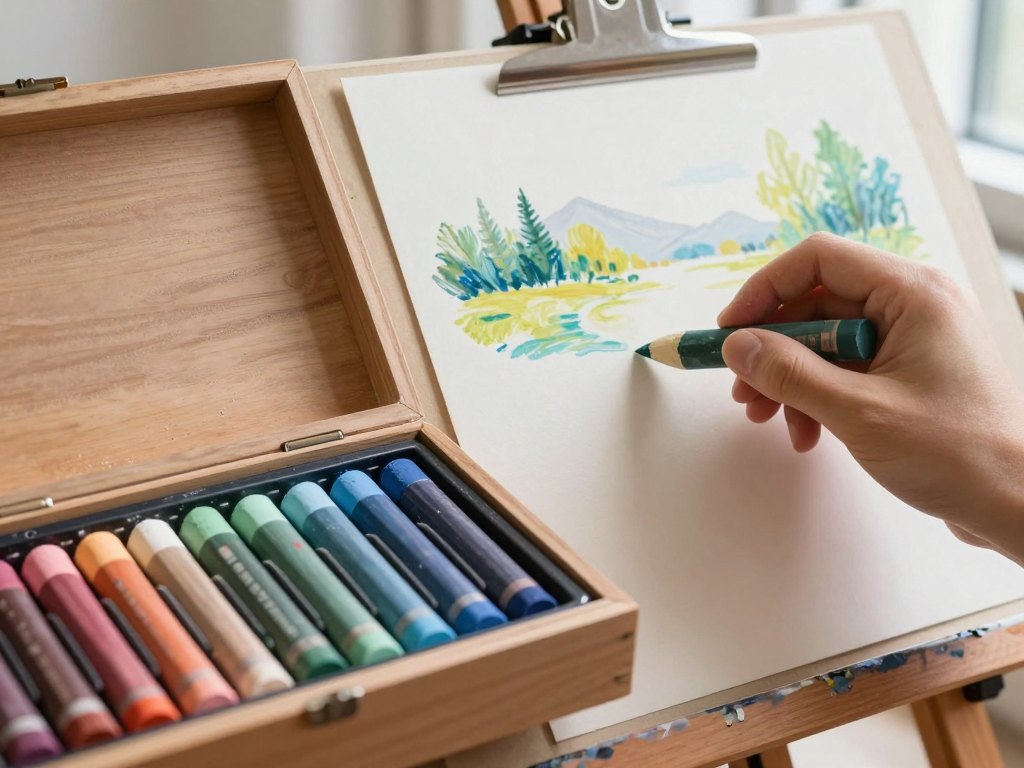
You do not need talent to start painting
Many people look at a realistic painting and quietly decide that it is not for them. They assume that drawing is a gift you either have or do not have, and that anything they attempted would look flat, muddy or childish. So the pencils stay in a drawer and the idea of painting stays an idea.
In practice, realistic painting is a set of skills that can be learned in order: how to hold the pastel, how to build a shape from light and shadow, how to blend a colour so it looks smooth, how to place a highlight so an object seems to have volume. Once each step is explained clearly and practised on a real picture, the result stops being a matter of luck.
This programme is built around that idea. It is a basic course in dry pastel for people with no artistic background, and it is also useful if you have tried other media and want a faster, more tactile way to get realistic results. Dry pastel is forgiving, quick to work with and needs very little equipment, which makes it a good first medium.
Over roughly two months you will move from simple exercises to complete, photorealistic pictures in a contemporary technique. Every lesson is recorded, so you can pause, rewind and paint alongside the video at your own speed.
What you will be able to do
- Handle dry pastel with confidence
Learn how to hold, press, layer and lift pastel so your strokes do what you intend.
- Blend colours smoothly
Create soft transitions and clean gradients without muddying the surface.
- Build volume with light and shadow
See a subject as a set of tonal shapes and reproduce them on paper.
- Mix and choose colours deliberately
Understand which tones to combine for warmth, depth and realistic contrast.
- Paint realistic textures
Render surfaces such as petals, fur, water or fabric with convincing detail.
- Compose a picture from a reference
Plan proportions and placement before you start, so the finished work feels balanced.
- Work in several genres
Apply the same method to different subjects instead of repeating one trick.
- Finish and present your work
Add final details, fix small mistakes and prepare a picture for framing.
- 55
- video lessons
- 2 months
- suggested pace
- 6
- modules from basics to finished pictures
- 0
- experience required
A method built for people who have never painted
The programme does not assume that you know the vocabulary of art. Terms such as tone, value, edge or reflected light are introduced when they are first needed and are always shown on a real example, not only described.
Each stage adds one new skill and immediately uses it. You do not spend weeks on theory before touching the paper. Short exercises warm up the hand, and then you apply the same technique to part of a picture that you will later complete.
The aim is understanding rather than copying. When you know why a shadow sits where it does and why a colour looks warm next to another, you can handle subjects that are not in the lessons. That is the difference between following a tutorial once and being able to paint on your own.
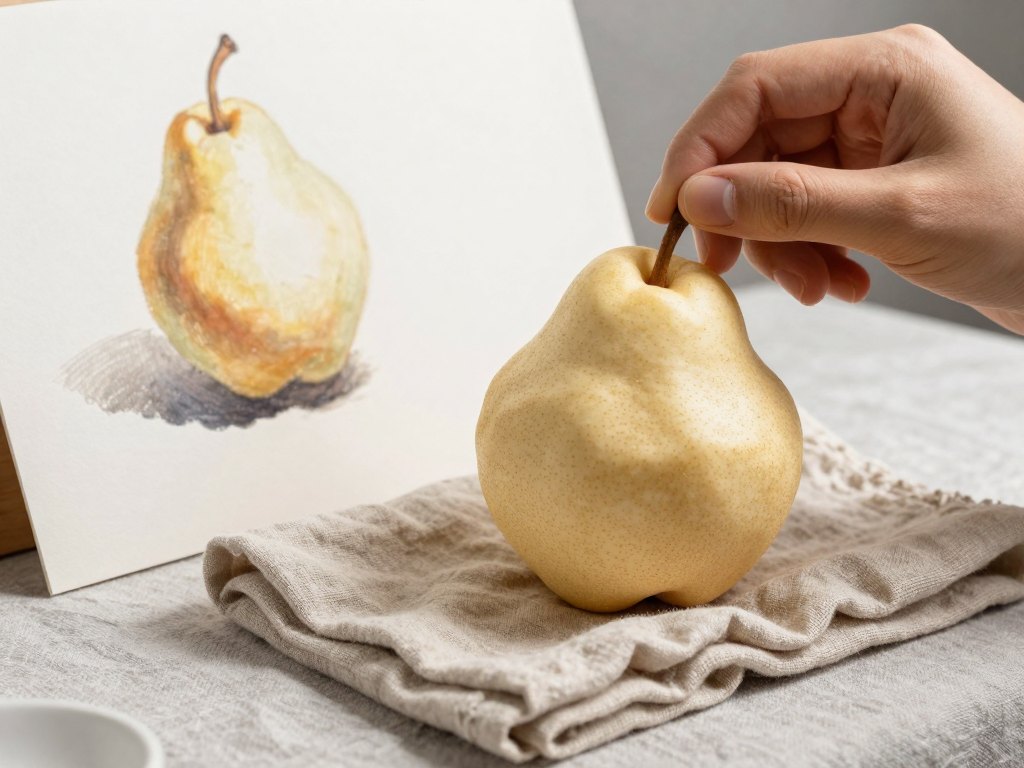
How the course works
The programme is delivered as recorded video lessons that you watch online, in order, at a pace that suits you. The suggested schedule is about two months, which works out at a few lessons a week, but nothing forces you to keep to it. If a week is busy, you simply continue when you are ready.
Each lesson shows the process from a blank sheet to the finished stage, so you can see where every stroke goes. You can pause the video at any moment, go back to a tricky step and watch it again as often as you need. Lessons are grouped into modules that begin with the basics and move on to complete pictures in different genres.
Alongside the videos you work with your own materials: a set of dry pastels, suitable paper and a few simple tools. The lessons explain what to buy and how to choose, so you do not need to guess in an art shop. You paint for yourself, compare your result with the lesson and repeat the parts that did not work the first time.
The programme
Six modules take you from the first marks on paper to finished, photorealistic pictures. The titles below show the order and the kind of work you will do.
1Module 1 — Materials and first strokesSet up your workspace and learn how pastel behaves.
- Choosing pastels, paper and tools
- Setting up a comfortable workspace
- Holding the pastel and controlling pressure
- Basic strokes, hatching and layering
- Your first simple exercise on paper
2Module 2 — Colour and blendingMix, layer and blend tones so transitions look smooth.
- How colours interact on the page
- Building a limited palette
- Blending with fingers and tools
- Creating smooth gradients
- Correcting mistakes without damaging the paper
3Module 3 — Light, shadow and volumeTurn flat shapes into objects with weight and depth.
- Seeing tones: light, mid-tone and shadow
- Drawing the basic forms
- Cast shadows and reflected light
- Placing highlights
- Practice picture: a simple object with volume
4Module 4 — Textures and fine detailLearn to render surfaces that look real up close.
- Soft and delicate textures
- Fur, feathers and fine lines
- Glossy and transparent surfaces
- Working with sharp and soft edges
- Adding detail without overworking
5Module 5 — Complete paintings in different genresApply the whole method to full pictures.
- Planning composition and proportions
- Painting a first photorealistic picture, part one
- Painting a first photorealistic picture, part two
- Moving to a second genre with a new subject
- Adjusting colour and contrast in the final stages
6Module 6 — Finishing and moving onPolish your pictures and keep practising on your own.
- Final details and a critical look at your work
- Protecting and storing pastel paintings
- Framing and presenting a finished picture
- Choosing reference photos for your own projects
- A plan for continuing to practise
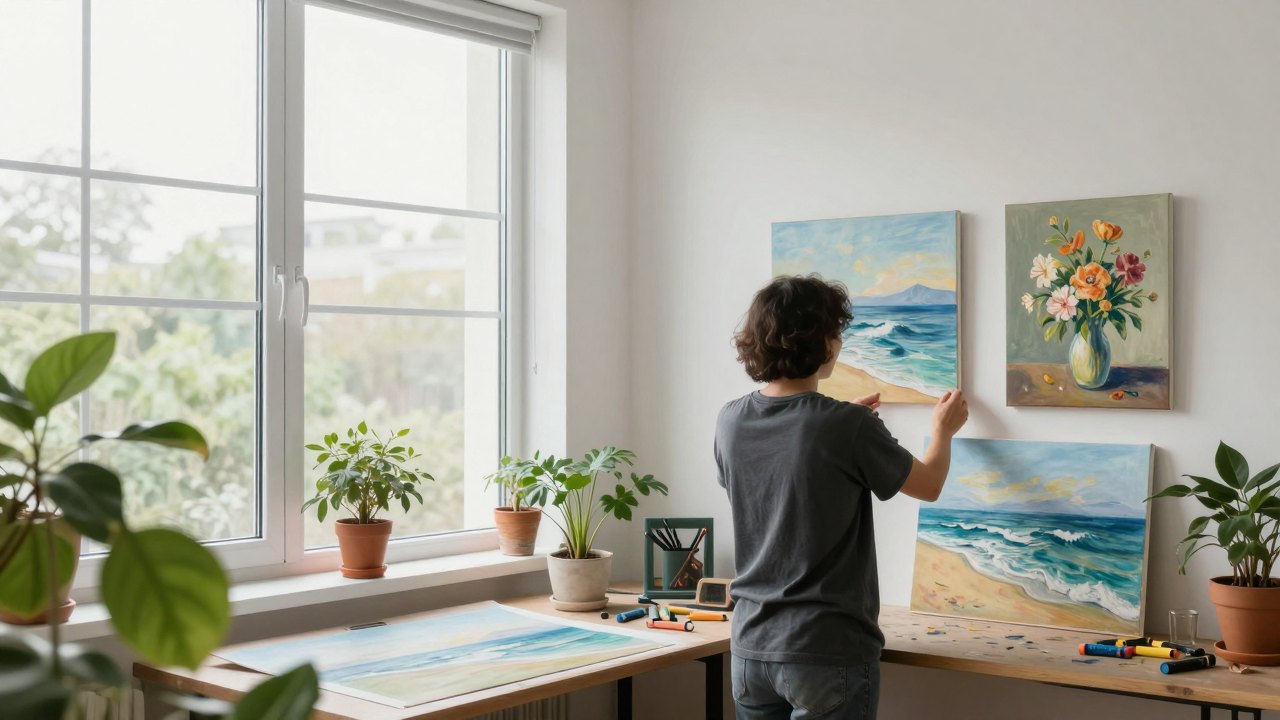
What you get
- 55 recorded video lessons
Process-based lessons that you can watch on any device.
- Step-by-step painting demonstrations
Every picture is shown from the first stage to the final touches.
- Materials guidance
Clear advice on which pastels, paper and tools to buy.
- Learning at your own speed
Pause, rewind and repeat any step as often as you like.
- Pictures in several genres
Practise the same method on different subjects.
- Ongoing access to the lessons
Return to the material whenever you want to refresh a skill.
Is this course for you?
This course is for you if…
- You have never painted and want a gentle, structured start.
- You like realistic pictures and want to learn how they are built.
- You prefer clear step-by-step demonstrations to abstract theory.
- You have a few evenings a week to practise at home.
- You have tried other media and want to add pastel.
Probably not a fit if…
- You are looking for personal feedback or one-to-one coaching on every picture.
- You want to paint abstract or purely experimental work only.
- You expect finished masterpieces without any practice.
- You are already an experienced pastel artist looking for advanced techniques.
After the course
By the end of the programme you will have a set of finished pastel paintings made by your own hand, and you will know how each of them was built. Colours, edges and shadows will no longer look like guesswork, because you will have practised every step in a clear order.
You will be able to choose a reference photo, plan the composition, select a palette and carry the picture through to the final details without a video open beside you. You will also know which part of the process is your strongest and which one needs more practice.
Most importantly, you will have a habit. Painting becomes an evening activity that relaxes you and gives you something tangible at the end. From there you can try new subjects, larger formats or other media, with a solid foundation under you.
Questions before you buy
How much time do I need each week?
The suggested pace is about two months, which means a few lessons a week. Many students set aside two to four hours a week for watching and painting. You can go faster or slower, because the lessons are self-paced.
Do I need any experience or talent?
No. The programme starts from the very beginning and assumes no artistic background. Everything is demonstrated step by step, and new terms are explained when they first appear.
What materials will I need?
You will need a set of dry pastels, suitable paper and a few simple tools. The first module explains what to choose and why, so you can buy only what is useful.
How does access work after payment?
Once your payment is confirmed you receive access to the lessons through your account and can start immediately. You then watch the lessons in order on a computer, tablet or phone.
What format are the lessons in?
They are recorded video lessons that show the painting process from start to finish. You can pause, rewind and rewatch any part.
Will the material stay available?
Yes. The lessons stay in your account, so you can return to them whenever you want to repeat a technique or paint a picture again.
What if the course is not right for me?
You can request a refund within 14 days of purchase. If the programme is not what you expected, contact support within that period and we will arrange it.
Can I follow the lessons if I am left-handed or have little free space?
Yes. Pastel painting needs only a small table and a sheet of paper, and the techniques work the same for left-handed and right-handed painters.
Start painting this week
Open the first lesson, set out your pastels and make your first marks on paper today.