Creative · All levels
Make a gilded, gem-set tree panel from start to finish
Follow recorded lessons step by step: plaster relief, gold leaf, a flat resin background, gemstones and crystals, all in one finished artwork.
- Recorded video lessons
- Unlimited access
- Full materials list with links
- Monthly live Q&A calls
- 14-day refund
Why a jewellery tree panel is harder than it looks
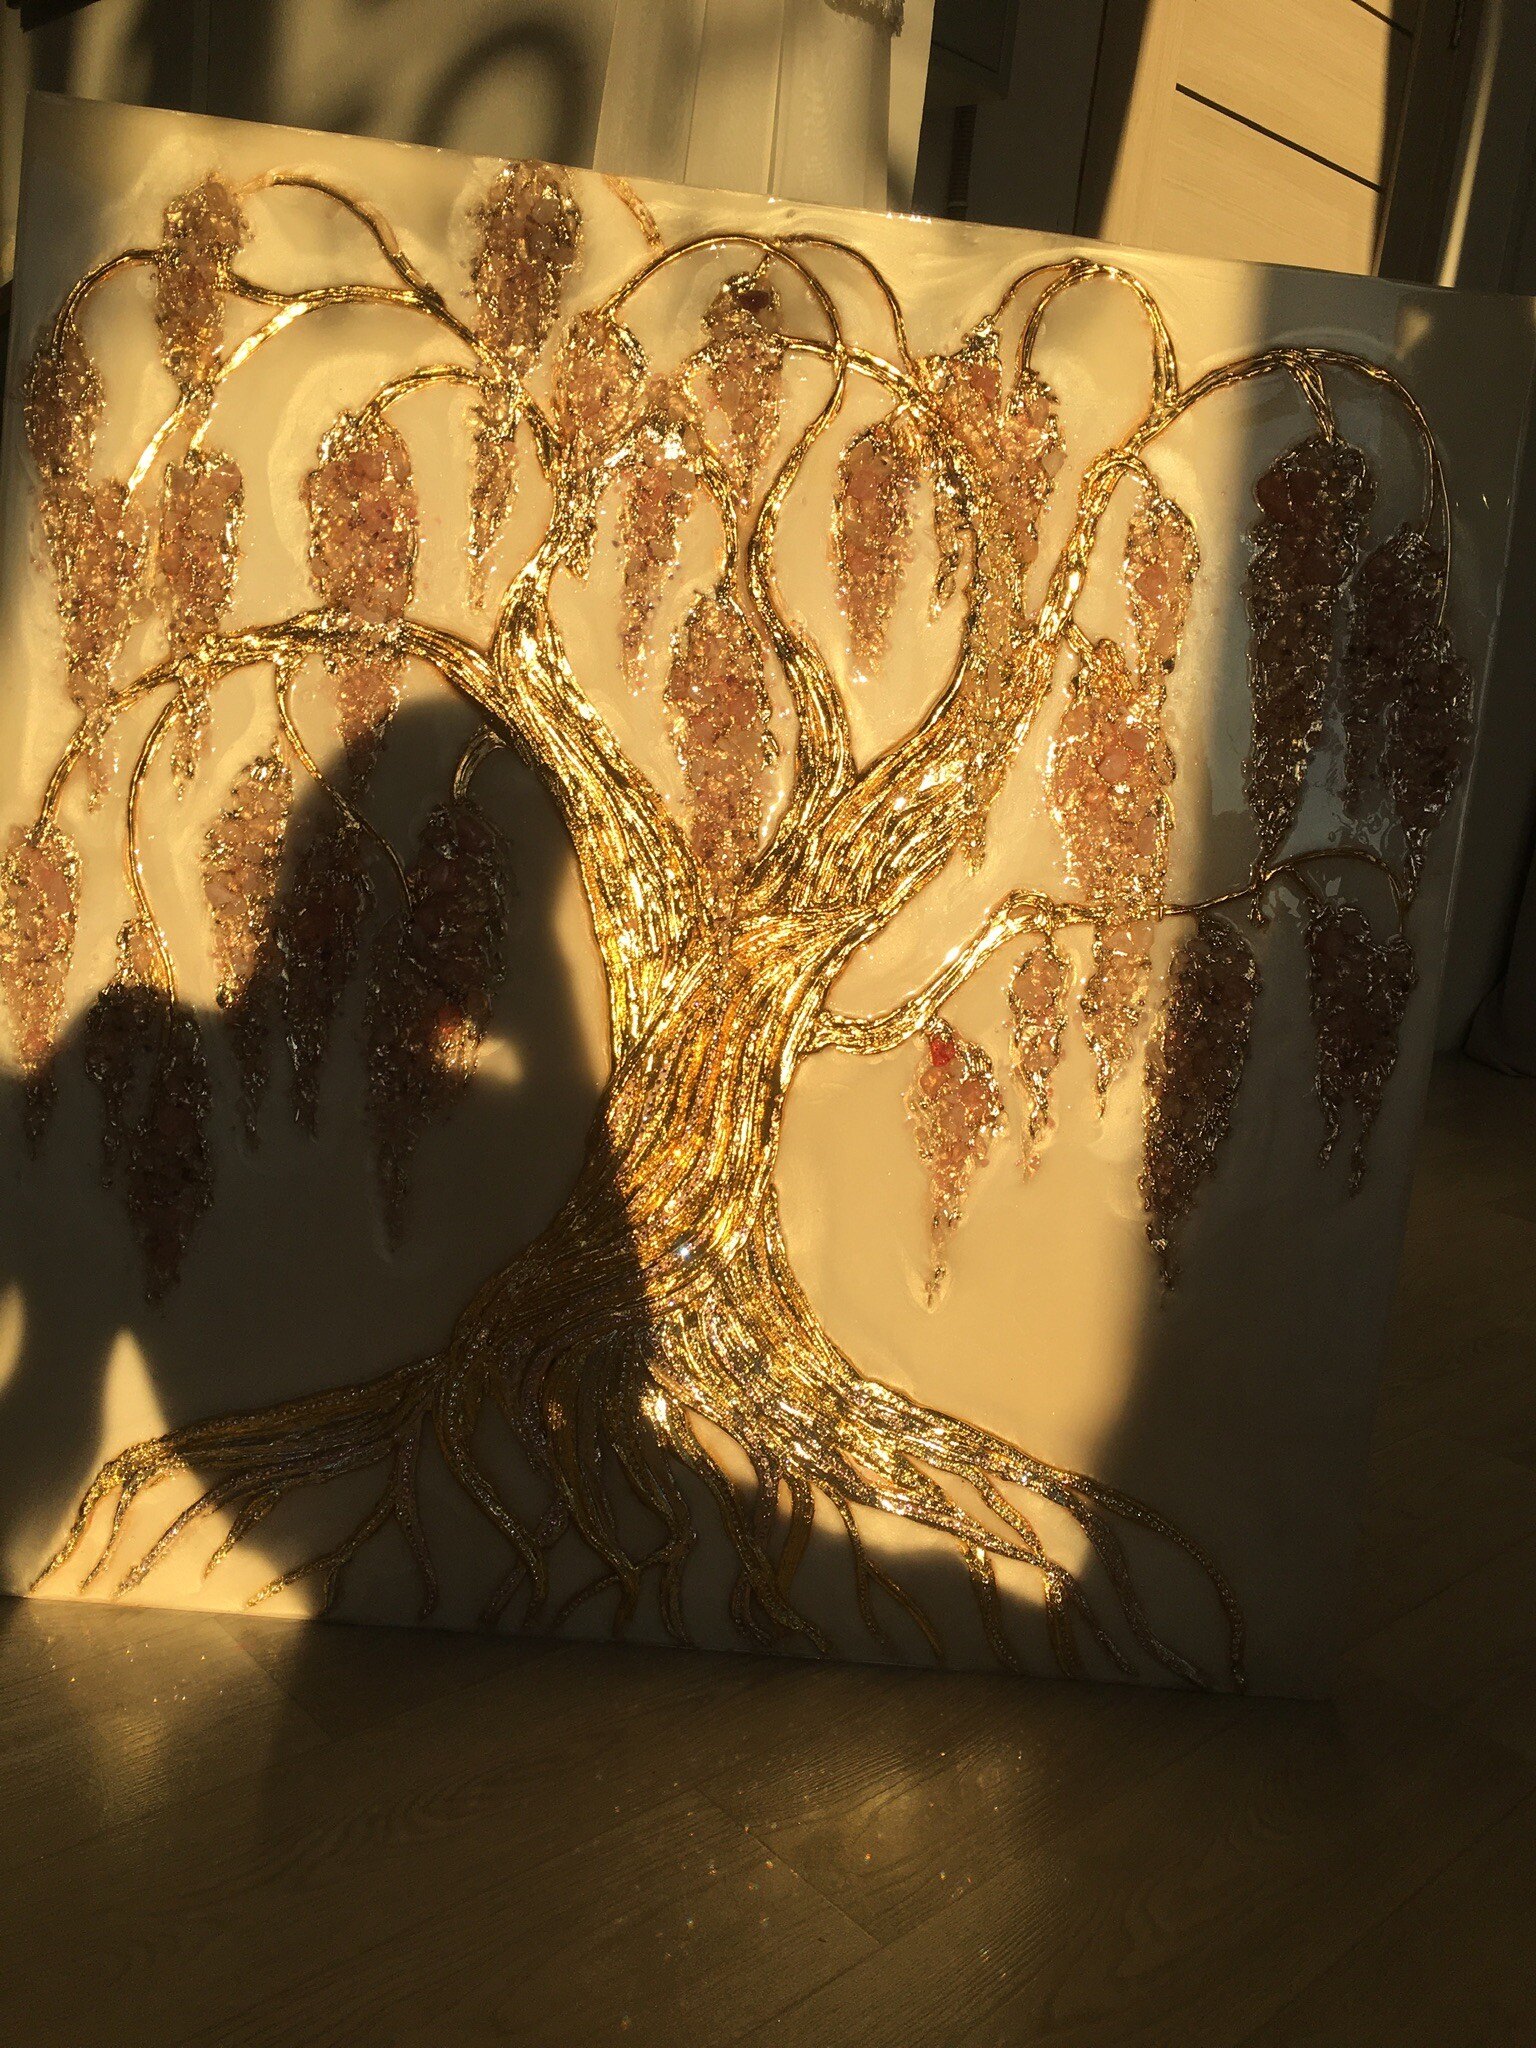
Gilded trees with glittering crowns of stones look effortless in photographs. When you try to make one yourself, the problems appear quickly. The plaster cracks or slides off the board, the gold leaf wrinkles on the relief, and the resin background ends up uneven or full of dust and bubbles.
Most people also struggle before they even begin. There are dozens of plasters, textured pastes, leaf types, glues, varnishes, pigments and resins, and it is hard to know what to order and what each one is actually for. A wrong guess means wasted money and a half-finished panel left in a drawer.
This workshop is built to remove that guesswork. It walks you through one complete artwork in the order you would really make it, and it explains why each material and each step is chosen. You see the whole process on screen, so you can pause, rewind and work alongside it at your own table.
The programme suits complete beginners as well as artists who already work with resin and want to add relief, gilding and inlay to their repertoire. By the end you will not only have a finished panel, you will understand the method well enough to design your own tree.
What you will be able to do
Skills you build while making the panel, from the first sketch to the final edge finish.
- Choose and prepare a suitable base
Know which surfaces work with which materials and how to prime them for plaster.
- Make your own art board
Build a base yourself instead of depending on ready-made boards.
- Create a sketch without drawing skills
Use several simple methods to arrive at a composition you like.
- Build volume with plaster and textured paste
Shape a bas-relief tree with single or double volume.
- Gild raised elements with super-leaf
Pick the right leaf, glue and varnish and apply them cleanly.
- Pour a perfectly flat resin background
Mix resin and pigments and work with one or two layers.
- Place gemstones and glass crumb correctly
Understand how and when to set natural stones during the pour.
- Attach rhinestones neatly
Inlay crystals at the right stage so they stay secure and sparkle.
- Finish edges and plan hanging
Treat the edges of the work and choose a suitable hanging method.
- 6
- modules from sketch to finished panel
- 4
- core techniques: relief, gilding, resin, inlay
- Monthly
- live Q&A calls
- Unlimited
- access to the recorded lessons
One artwork, built layer by layer
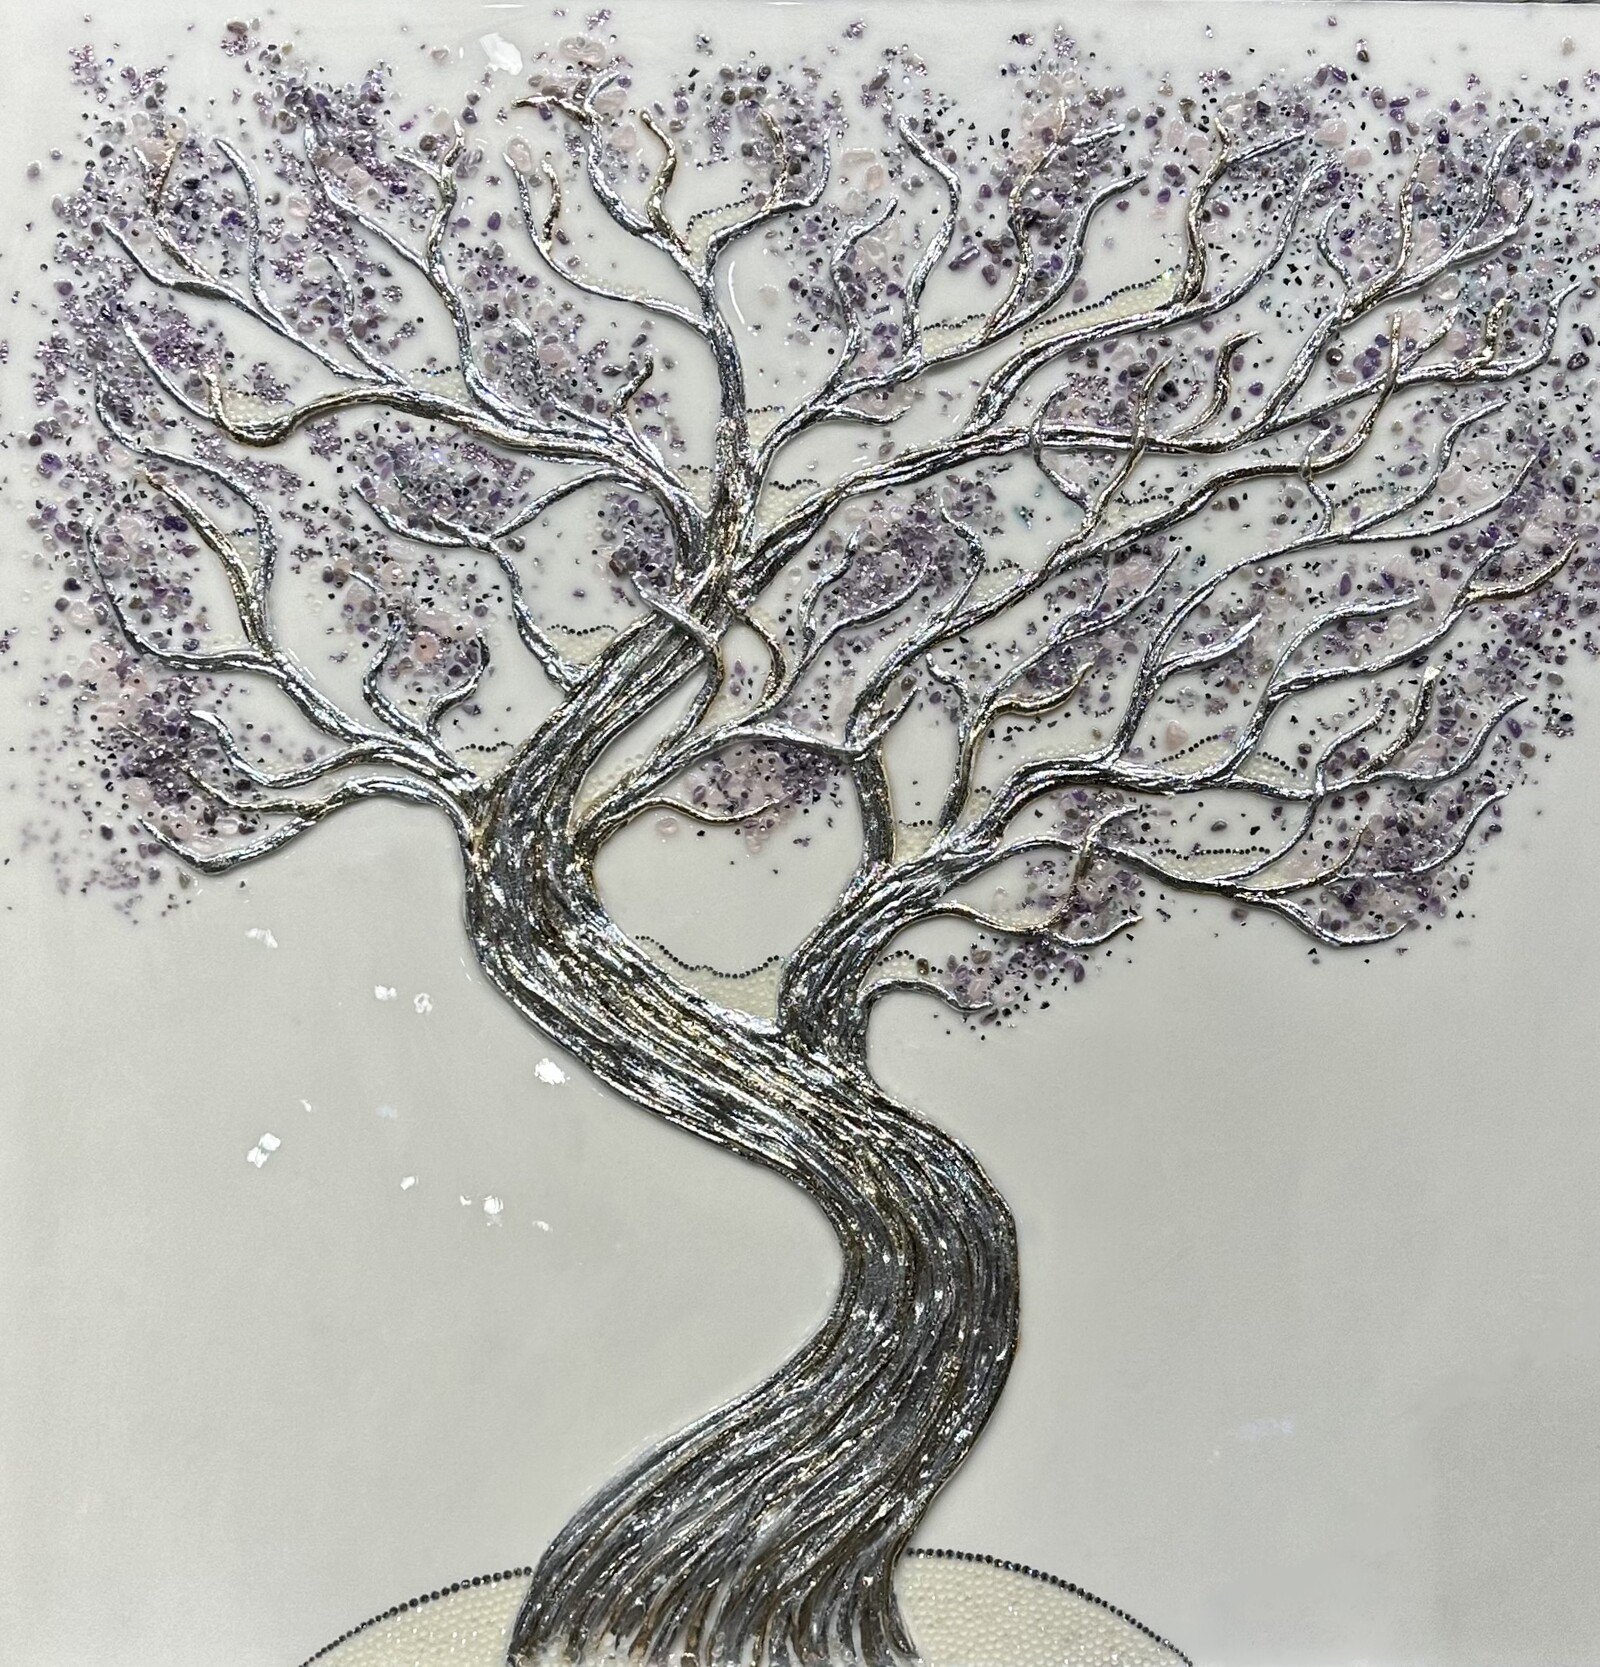
Instead of teaching isolated tricks, the workshop follows a single panel through every stage. You start with the materials and the base, then add the relief, gild it, pour the background, set the stones and crystals and finally finish the edges.
Seeing the order of operations is what makes the difference. You learn why the relief must be fully dry before gilding, why the background is poured after the gold is protected, and at which moment stones are placed so they sit evenly in the resin.
- Single and double volume trees
- One-layer and two-layer pours
- Inlay with stones, glass crumb and rhinestones
- Gilding raised elements with super-leaf
How the course works
All lessons are pre-recorded videos, and they become available as soon as your payment is confirmed. There are no fixed start dates and no deadlines, so you move at the pace that fits your week. Many people watch a lesson, pause, and complete that stage of the panel before moving on.
The programme includes a materials list with links to the suppliers and discount codes, so you can order everything in one go and avoid buying the wrong product. A shared chat for all learners lets you compare progress and ask questions, and there is a private chat with a tutor who supervises your work at each stage.
Once a month there is also a live broadcast where current questions from learners are discussed. These calls are an extra, so you can follow the course fully through the recordings alone.
The programme
Six modules that follow the real order of work on the panel.
1Module 1 — Materials and surfacesKnow what to buy and how to prepare the base.Video lessons
- Introduction and the full materials list
- What to order and where to order it
- Choosing a base for each material
- Preparing the surface for plaster
- Making your own art board
2Module 2 — The sketchPlan the composition even if you do not draw.Video lesson
- Choosing a sketch that suits your panel
- Creating a sketch by several different methods
3Module 3 — Building volumeCreate the relief that gives the tree its character.Video lesson
- Types of materials for creating volume
- Building the bas-relief step by step
- Single and double volume compared
4Module 4 — GildingApply gold cleanly over the raised elements.Video lesson
- Types of leaf, glue and varnish
- Details and common pitfalls of gilding
- Gilding a bas-relief with super-leaf
5Module 5 — Resin background and stonesPour a flat background and place stones correctly.Video lesson
- Working with resin and pigments
- Creating an even layer
- One-layer and two-layer pours
- Placing gemstones and glass crumb
6Module 6 — Rhinestones and finishing touchesComplete the work and prepare it for display.Video lessons
- Inlaying the work with rhinestones
- Treating the edges of the panel
- Touch-ups and corrections where needed
- Recommendations for hanging the finished work
What you get
- Recorded video lessons
The complete process of making the panel, from materials to finishing.
- Unlimited access
Return to any lesson whenever you need a refresher.
- A materials list with links
Includes discount codes for suppliers.
- A shared learner chat
Exchange progress and ideas with others on the programme.
- A private chat with a tutor
Get guidance and help at every stage of your work.
- Monthly live Q&A
Current questions are answered on a live broadcast each month.
- A method you can reuse
The knowledge to design your own original panel afterwards.
Is this course for you?
This course is for you if…
- You are a beginner who would like to make a decorative artwork with your own hands.
- You already paint or work with resin and want to add relief, gilding and inlay.
- You enjoy trying new materials and techniques.
- You want to create gifts or interior pieces that are one of a kind.
- You would like to learn at your own pace with recorded lessons.
Probably not a fit if…
- You want a very quick craft that is finished in an hour.
- You prefer not to buy any materials and only want to watch.
- You are looking for live in-person teaching at a studio.
- You expect a ready-made kit to be sent to you.
After the course
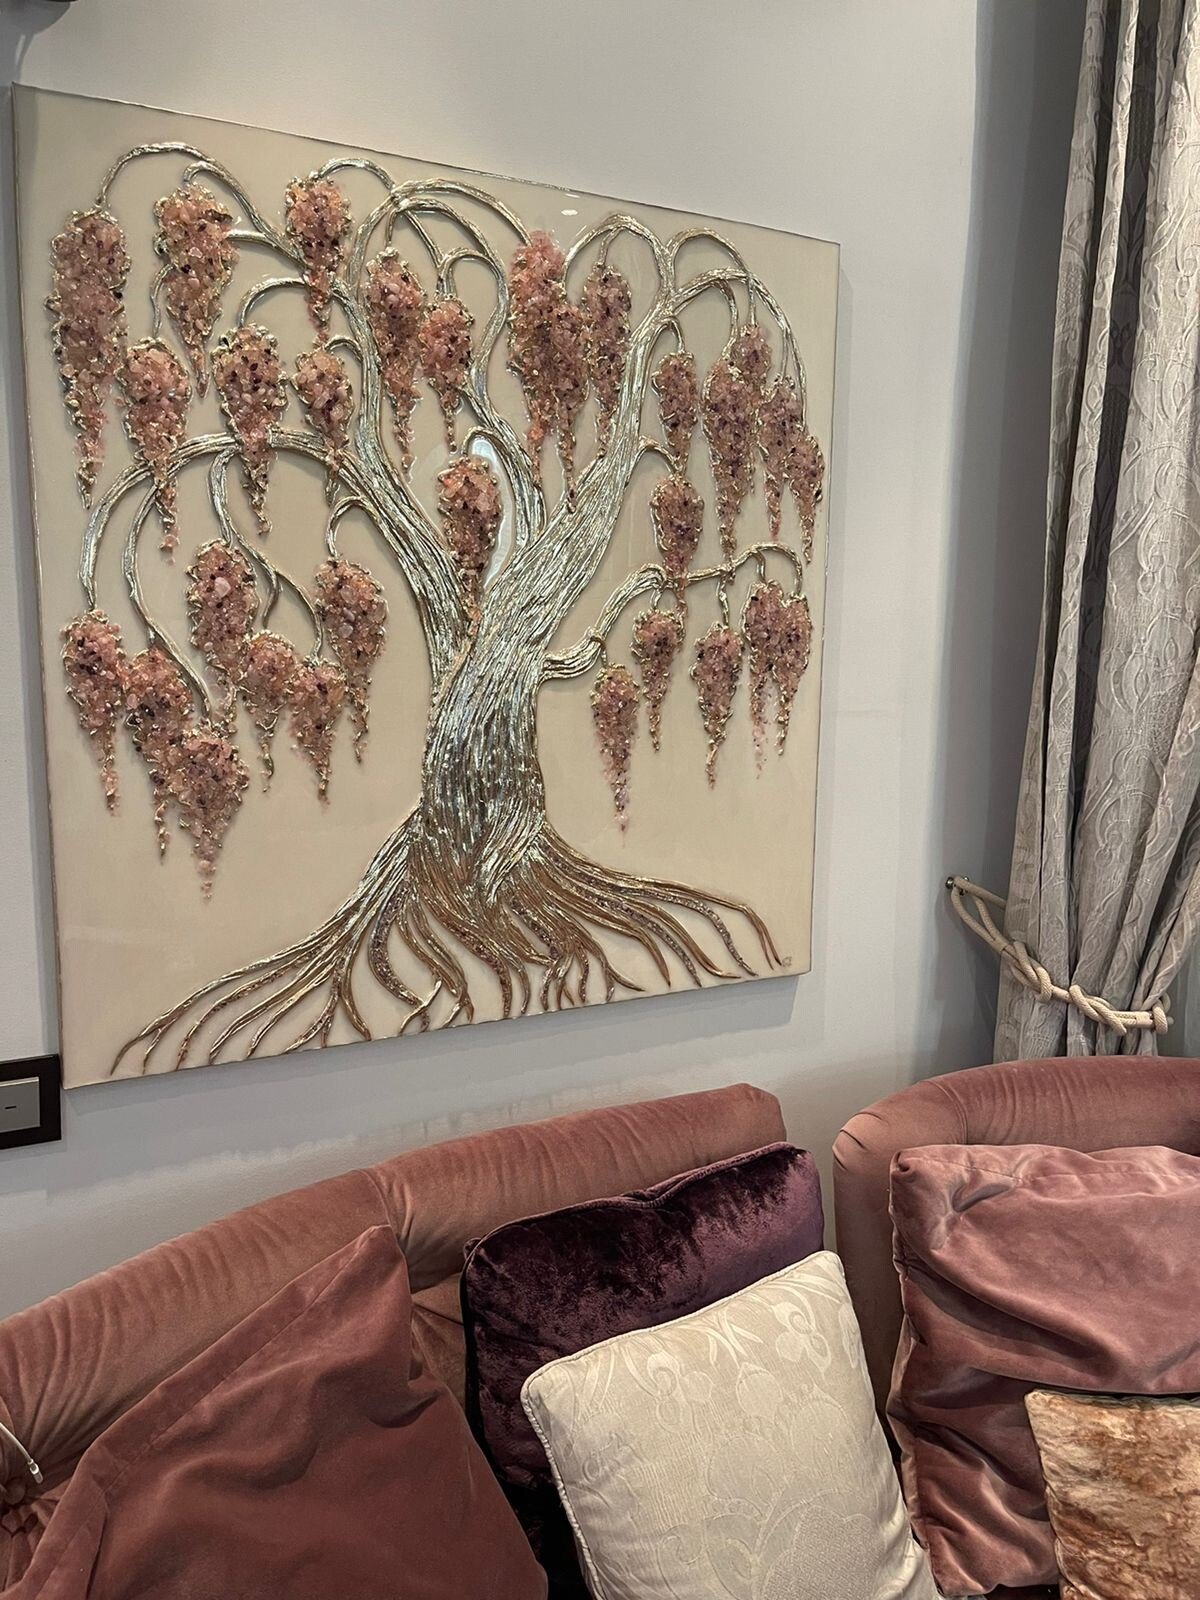
When you finish the lessons, you will have a completed jewellery tree panel with a raised, gilded trunk, a flat resin background and a crown of stones and crystals. More importantly, you will know how each stage works, so you can repeat it at a different size or with other colours.
You will be able to choose materials with confidence, prepare a base properly and avoid the typical mistakes with plaster, leaf and resin. Because you understand the logic of the process, you can change the tree shape, the colour scheme and the stones to make a design that is truly your own.
The recordings stay available, so when you begin a new piece you can go back to the exact lesson you need.
Questions before you order
How much time do I need each week?
There is no fixed schedule. Working with plaster and resin involves drying time between steps, so many people spend a few hours a week watching a lesson and working on the panel. You decide the pace.
Do I need any previous experience?
No. The programme suits beginners and working artists alike. You do not need to be able to draw, because the sketch lessons show several ways to create a composition.
How does access work after payment?
Your lessons become available straight after your payment is confirmed. You can start watching right away and return to them whenever you like.
What is the refund policy?
You can request a refund within 14 days of your purchase.
What format are the lessons in?
All lessons are pre-recorded videos. You also get a materials list with links, and access to learner and tutor chats.
Does the material stay available?
Yes. The course is a recording with unlimited access, so you can rewatch any lesson at any time.
Do I need to buy materials separately?
Yes. The course includes a full list of materials with links and discount codes so you can order what you need for the panel.
Is there any support while I work?
Yes. There is a shared chat with other learners, a private chat with a tutor who guides you through each stage, and a monthly live call to discuss current questions.
Start your first tree panel
Order the workshop and begin with the materials list today.