Creative · Beginner
Draw the female fashion figure from every main angle
A short video guide to the classic head-based method, taking you from a blank sheet to a set of ready portfolio poses.
- 11+ different poses
- Front, back, side and 3/4 views
- 4 blocks with practice tasks
- Works on paper or tablet
- Watch on your phone
Why fashion figures so often look wrong
Many people who love fashion illustration get stuck on the very first step: the figure itself. The proportions seem right, the head count is correct, and still the model looks stiff, twisted or oddly heavy on one side. Without a reliable construction method, every new pose becomes a guessing game.
Fashion drawing has its own logic. The figure is taller and more elongated than a realistic body, and the weight, the line of the shoulders and the line of the hips all work together to create the sense of movement. Copying photos or tracing rarely teaches you this logic, so progress stays slow and frustrating.
This guide gathers the essentials in one place. It walks you through the classic method of building the figure by heads, one angle at a time, so you understand not only what to draw but why it works. It is designed for people who are only just meeting fashion illustration and want a clear, calm starting point.
Everything is organised as a compact video cheat sheet that you can watch on a phone or tablet, next to your sheet of paper or your drawing app.
What you will be able to do
- Build a fashion figure using the head-based method
Use head units to set height and key landmarks before adding any detail.
- Draw a standing figure from the front, back and side
Master the static poses that every fashion portfolio needs.
- Create a runway-walk pose with a sense of motion
Show weight shift and rhythm in a dynamic stance.
- Apply contrapposto to make poses look alive
Balance the tilt of the shoulders against the tilt of the hips.
- Draw the figure in a three-quarter view
Handle foreshortening of the torso and the turn of the body.
- Spot why a figure looks unnatural
Recognise problems that remain even when the head proportions are correct.
- Stylise a figure without losing its balance
Understand how a stylised figure can still look natural.
- Assemble a set of 11+ poses for your portfolio
Finish with a practical collection of the most popular models.
- 11+
- different poses
- 4
- views: front, back, side, 3/4
- 4
- blocks with practice tasks
- 90 days
- of access after purchase
The method behind the guide
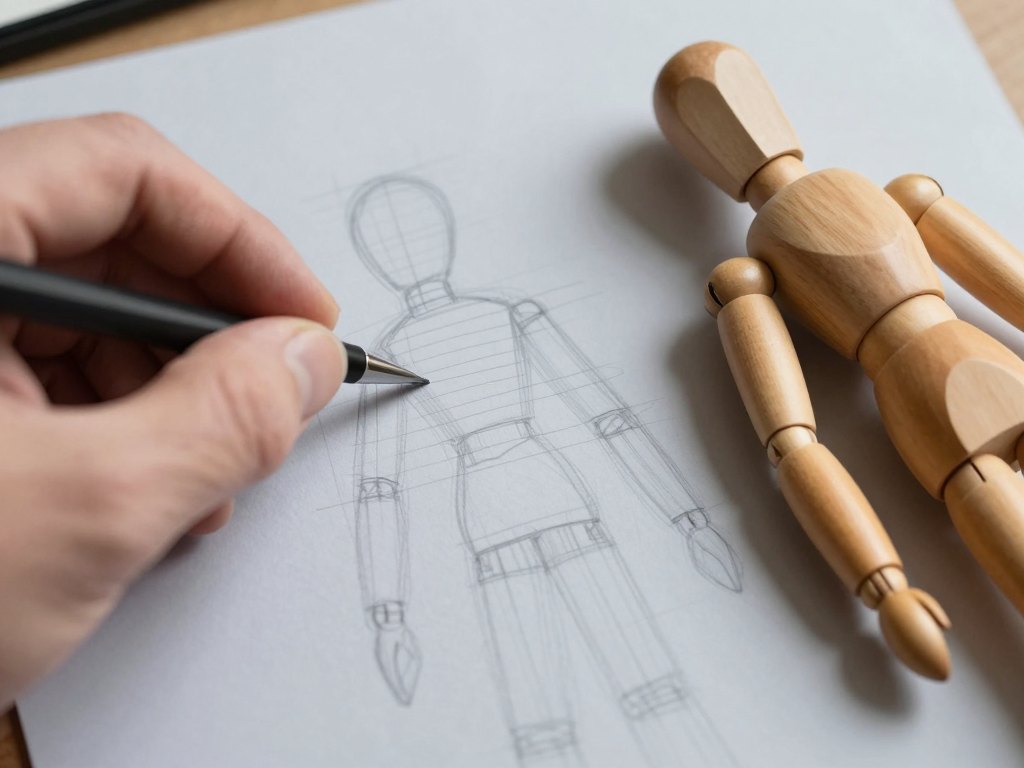
The guide is built around the classic approach of constructing the figure by heads. You start by dividing the height into equal units, mark where the shoulders, waist, hips, knees and ankles fall, and only then draw the shape of the body around that framework.
Once the framework is clear, the lessons show how to bend it. A shifted hip, a raised shoulder or a turned torso changes the whole figure, and you will see exactly how those changes are drawn step by step.
A special part of the guide explains why a figure can look awkward even when the head proportions are followed to the letter, and why a stylised figure can look completely natural. This is the difference between drawing by numbers and drawing with understanding.
Face proportions are not part of this guide. They are treated as a separate topic, so this programme stays focused on the body and its poses.
How the course works
The guide consists of four blocks of video lessons. You get access to the first lesson right after payment and can study at any time and from any place, at the pace that suits you. The whole guide is designed to take about 8 to 10 days, and the minimum time for going through it is only 4 to 5 days.
At the end of each block there is a practical task to consolidate the material. The guide is a video cheat sheet, so there is no personal feedback from a teacher. The videos contain all the instructions needed to create each model, and the rest depends on your practice, patience and persistence.
You can follow along digitally or with traditional materials. For digital work you only need a tablet and any graphics programme, such as Procreate, Sketchbook or a similar app. For drawing on paper you need white sheets in A3, A4 or A5, a ruler, an eraser, a pencil and skin-tone pencils or sketch markers in any shades you like. For first practice, even ordinary squared notebook paper is enough.
The lessons are watched online in your personal account on the learning platform after payment. Access to the lessons stays open for 90 days, so you can return to any lesson as often as you need during that period.
The programme
Four blocks, each ending with a practice task. Together they cover more than eleven poses across all the main angles.
1Block 1 — Static poses: front, back and sideBuild the basic standing figure by heads and learn the foundation for every other pose.Video lessons and a practice task
- Dividing the figure into heads and placing the key landmarks
- Drawing the standing figure from the front
- Drawing the standing figure from the back
- Drawing the standing figure in profile
- Practice task: three static poses for your portfolio
2Block 2 — Dynamics: the runway walkAdd movement to the framework and see how weight shift changes the figure.Video lessons and a practice task
- How the runway walk changes the line of the hips and shoulders
- Constructing the walking pose step by step
- Placing the legs and feet in motion
- Practice task: your own runway-walk figure
3Block 3 — Contrapposto in a full-length figureLearn the balance between tilted shoulders and hips that makes a pose look alive.Video lessons and a practice task
- The idea of contrapposto and the weight-bearing leg
- Balancing the shoulder line against the hip line
- Drawing contrapposto poses from the front
- Why a figure can look unnatural despite correct head proportions
- Practice task: a set of contrapposto poses
4Block 4 — The three-quarter viewTurn the body in space and draw the most popular angle in fashion illustration.Video lessons and a practice task
- How the torso and hips turn in a three-quarter view
- Constructing a three-quarter figure in contrapposto
- Keeping a stylised figure natural and balanced
- Practice task: finishing your collection of poses
What you get
- Video lessons in four blocks
Clear step-by-step instructions you can pause and replay.
- 11+ poses to draw
Static, dynamic and three-quarter models in a practical collection.
- A practice task after each block
Short assignments that cement what you have just watched.
- Phone-friendly viewing
Watch the lessons on a phone, tablet or computer.
- 90 days of access
Return to any lesson as often as you like during this period.
- Study on paper or digitally
Use a pencil and paper or any drawing app on a tablet.
A relaxed, practical way to learn
The guide is intentionally compact. Instead of long theory, you get a focused set of videos that show each pose being built from the first line, so you can follow along in real time and pause whenever you need.
You do not need expensive materials or special skills. A pencil, an eraser, a ruler and a few sheets of paper are enough to begin, and if you already draw on a tablet, your usual app will do.
Because there is no schedule and no live sessions, you decide when to study. Some people finish in a long weekend, others spread the lessons across a couple of weeks. Both approaches work as long as you practise the tasks.
Is this course for you?
This course is for you if…
- You are a beginner illustrator who wants a reliable way to draw the female fashion figure.
- You are a clothing designer who needs to present your ideas on a convincing figure.
- You are a student of an art or design programme who wants extra practice with fashion proportions.
- You want to improve specifically in constructing fashion silhouettes before moving to advanced topics.
- You do not draw yet, but you are ready to practise with pencil and paper.
Probably not a fit if…
- You are looking for personal feedback or a teacher to review your work.
- You expect lessons on drawing faces, because face proportions are not included.
- You want an advanced course on commercial fashion illustration with clothing, fabrics and rendering.
- You are not prepared to spend time practising the tasks between lessons.
After the course
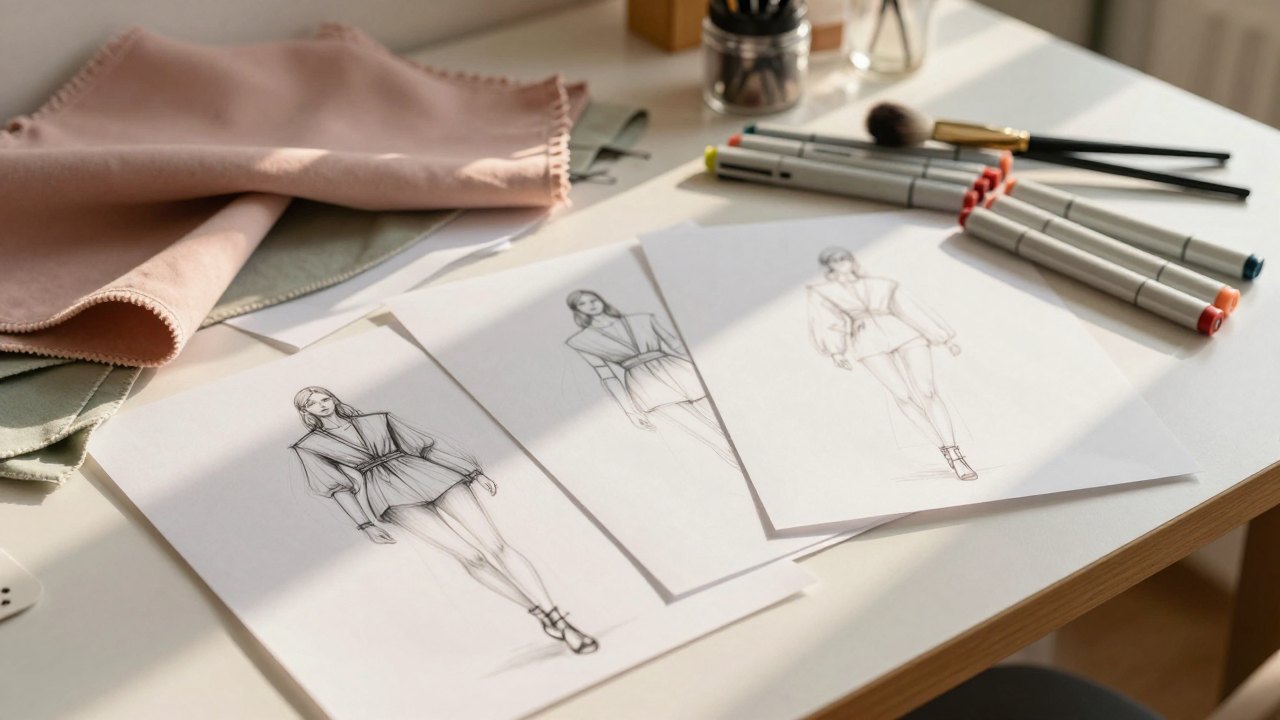
When you finish the guide, you will have a collection of fashion figures in more than eleven poses, drawn from the front, back, side and three-quarter views. These can serve as the first pieces of your portfolio, and as ready bases for drawing clothing.
More importantly, you will understand how the figure is constructed. You will see how the head-based framework, the weight line and the tilt of shoulders and hips fit together, and you will be able to adjust a pose that looks off instead of starting again.
The guide is a good foundation before moving on to more detailed courses on commercial fashion illustration, where you can concentrate on clothes, fabrics and style rather than on struggling with the body.
Questions before you buy
How much time do I need per week?
The guide is designed to take about 8 to 10 days, and the quickest route takes 4 to 5 days. Around half an hour to an hour a day, including practice, is a comfortable pace.
Can I join if I cannot draw at all?
Yes. The guide was made for beginners and shows the construction of the female fashion figure step by step, so you can learn the basics from scratch.
What do I need to take part?
For digital work you need a tablet and any graphics programme, such as Procreate or Sketchbook. For drawing on paper you need white sheets, a ruler, an eraser, a pencil and skin-tone pencils or markers.
How does access work after payment?
Right after payment you get access to the first lesson in your personal account. You can then study at any time and from any place.
How long does the material stay available?
Access lasts for 90 days after purchase. You can return to any lesson during that period as often as you need.
What is the lesson format?
The lessons are recorded videos that are easy to watch on a phone, tablet or computer. Each of the four blocks ends with a practice task.
Will I receive feedback on my drawings?
No. The guide is a video cheat sheet without personal feedback. The videos contain all the instructions you need to create the models.
Is there an age limit?
There are no strict age limits, since all you need is a pencil and a sheet of paper.
What is the refund policy?
You can request a refund within 14 days of purchase.
Start drawing your first fashion figure
Get the guide and build a solid foundation for fashion illustration in just a few days.