Creative · All levels
Make your own one-of-a-kind clocks from wood and epoxy resin
Forty video lessons take you from choosing materials to a polished, working clock, with three complete projects made step by step.
- 40 video lessons
- 5 modules
- Three complete clocks
- Tool and supplier lists
- 14-day refund policy
Why resin clocks look easy and often go wrong
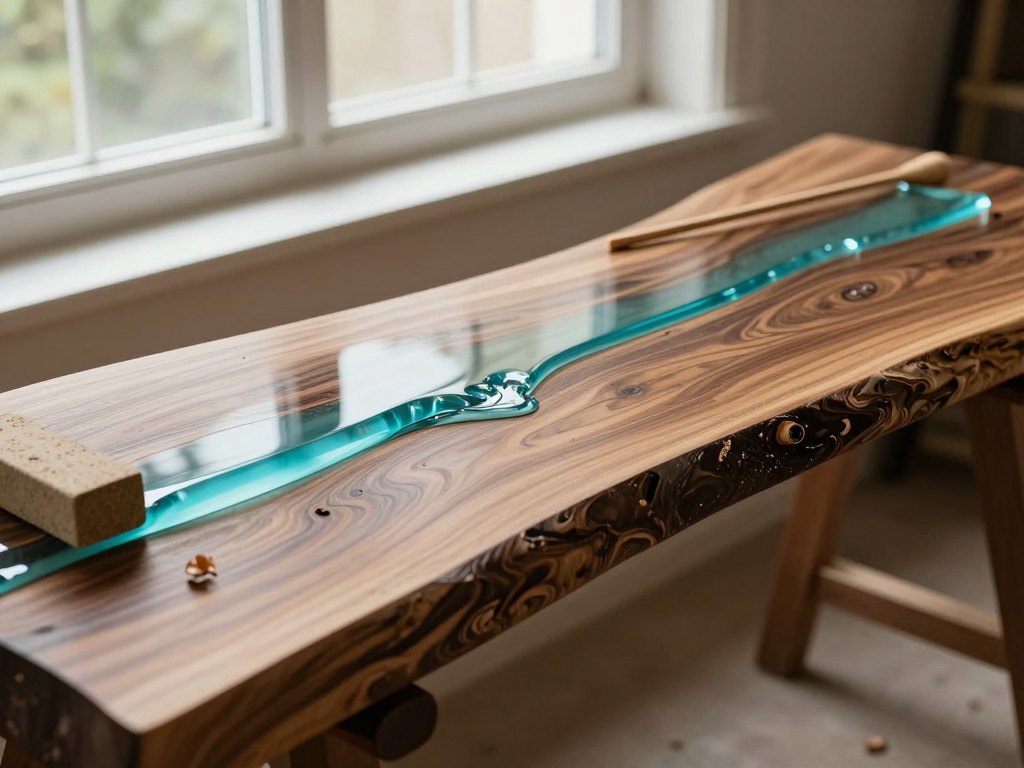
Photos of wooden clocks filled with glowing, stone-like resin are everywhere, and many people want to try making one. Then they open a shop, face a dozen types of resin, pigments and wood cuts, and have no idea which to buy or where to begin.
Most beginners learn by trial and error. A pour that is too deep cracks or clouds, a slab with the wrong preparation leaks, and a hole cut for the clock movement in the wrong place ruins a day of work. Each mistake costs time and expensive materials.
This course puts the whole process in one place. You see every stage on video, from choosing a slab to the final polish, so you can avoid the common pitfalls and get a result you are proud to hang on the wall.
It is built from years of hands-on work with epoxy resin and solid wood, including many clocks, tables and decor pieces. You get a clear route instead of scattered tips.
What you will be able to do
- Choose wood slabs and cuts that suit resin
Learn what to look for and how to deal with burl wood, which has its own quirks.
- Select a resin for deep pours
Understand the types of resin and which one suits volumetric casting.
- Colour resin with chameleon pigments
Use them so that their shifting shades are shown at their best.
- Create a natural-stone effect
Reproduce the look of stone inside a volumetric pour.
- Build your own formwork cheaply
Make a mould for the pour from simple materials, and use plastic moulds correctly.
- Cut the hole for the clock movement
Do it yourself, cleanly and in the right place.
- Make a hidden dial
Create a clock face that blends into the piece.
- Grind and polish to a smooth finish
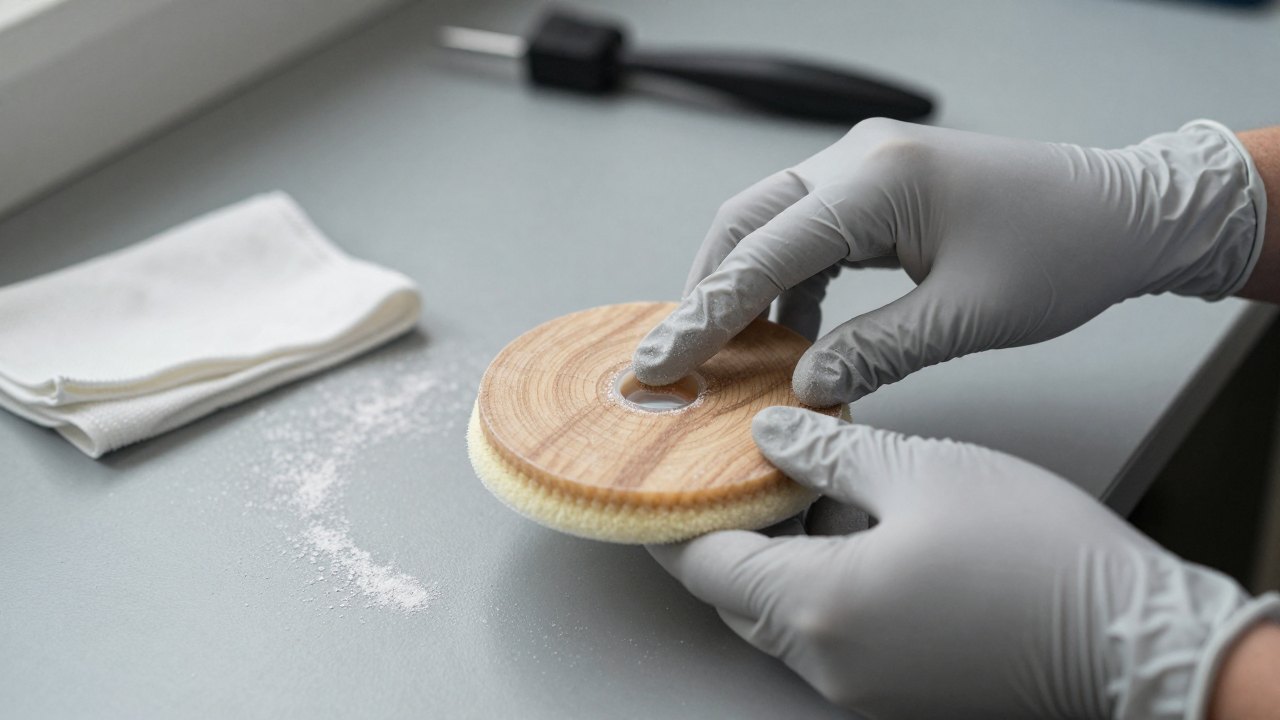
Follow every stage of sanding and polishing on screen.
- Work safely and with the right tools
Follow safety rules and use a complete tool list so you buy only what you need.
- 40
- video lessons
- 5
- modules
- 3
- complete clocks made in different techniques
- 6 months
- of access on the basic tariff
Three clocks, three techniques
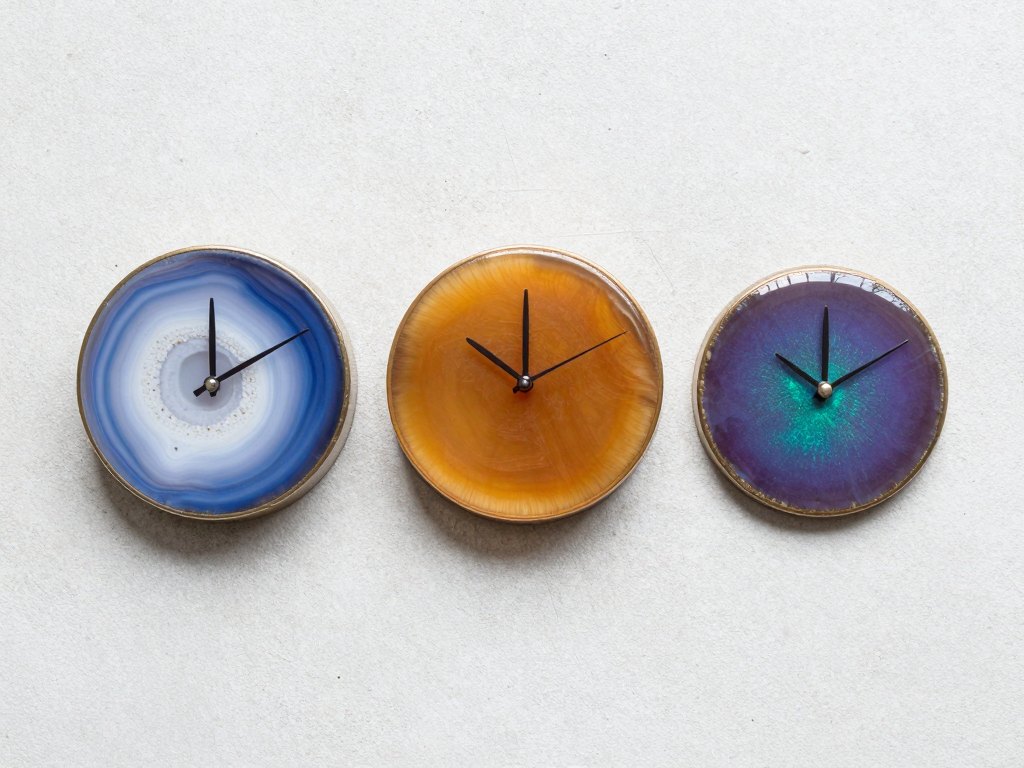
The course is organised around real projects. You make a wall clock with an agate look, a wall clock in an amber style and a desk clock using chameleon pigments. Each one introduces new skills, so the difficulty grows at a comfortable pace.
Along the way you see how to handle slabs and burl wood, how to prepare formwork, how to pour, how to cut the opening for the movement and how to finish the surface. Nothing is skipped or shown only in summary.
Because each clock is filmed from materials to finished piece, you can follow along in your own workspace and pause whenever you need to. After the three projects you will have the method to design clocks of your own.
The projects also show different ways of using resin. One teaches you to imitate natural stone, another focuses on the colour play of chameleon pigments, and the desk clock introduces a hidden dial. Together they give you a toolbox of effects that you can mix in later work.
How the course works
The course is a library of recorded video lessons that you watch in your own time. You can pause, rewind and repeat any step, and work at the speed that suits you and your workspace. Resin needs time to cure, so a self-paced format fits the craft well.
Lessons are grouped into five modules. The first covers materials, tools and safety. Modules two to four each guide you through making one clock. The fifth module contains bonus video lessons on additional clock designs.
Along the way you get practical lists: the tools you need and stores where you can find the components. You can prepare in advance and avoid buying things you will not use.
The course does not require any previous experience with resin. If you already know the basic ResinArt technique, you will find new material on volumetric pours and clock making. Higher tariffs on the sales page add extra bonus lessons and access options; this listing covers the basic tariff with access to all course materials for six months.
The programme
Five modules with 40 video lessons in total. Here is what each module covers: first the materials, then three complete clock projects, and finally the bonus designs.
1Module 1 — Getting to know the materialsEverything you need to know before you start pouring.Foundations
- Types of resin and their properties
- How to choose a quality wood slab
- Safety rules for working with resin
- The full list of tools you will need
2Module 2 — The "Agate" wall clockYour first complete project, from materials to a finished clock.Project 1
- Selecting the materials
- All stages of the pour
- Grinding the clock
- Cutting the hole for the clock movement
- Fitting the dial, hands and wall mount
3Module 3 — The "Amber" wall clockA second wall clock with a different look and technique.Project 2
- Selecting the materials for the amber look
- Preparing and pouring the piece
- Grinding and finishing the clock
4Module 4 — The "Chameleon" desk clockA rectangular desk clock with chameleon pigments and formwork you make yourself.Project 3
- Making the formwork by hand
- Working with chameleon pigments
- Polishing the clock
- Fitting the dial and hands
5Module 5 — Bonus lessonsExtra clock designs to extend your skills.Bonus
- Making a clock with a sea theme
- Making a ring-shaped clock with a Petri Art effect
What you get
- 40 video lessons in 5 modules
Recorded lessons you can watch whenever it suits you.
- Three complete clock projects
Wall and desk clocks in different techniques.
- A full list of tools
Everything you need for the work, in one place.
- A list of component stores
Links to shops where you can buy the clock parts.
- Material and resin recommendations
Guidance on slabs, burl wood and resin for deep pours.
- Bonus video lessons
Extra clock designs in the final module.
- Access to all course materials
Six months of access on the basic tariff.
Is this course for you?
This course is for you if…
- You have wanted to try resin but did not know where to start.
- You enjoy making exclusive things with your own hands.
- You already know the basics of ResinArt and want to learn how to make clocks.
- You want to move your craft to a new level.
- You are looking for a new hobby with a tangible result.
Probably not a fit if…
- You want a quick result without any practical work with materials.
- You are not able to set aside a workspace with good ventilation for pouring.
- You are looking for personal one-to-one tuition rather than recorded lessons.
- You expect the course to cover all resin techniques, such as painting or jewellery.
After the course
When you finish, you will know how to pick a slab, choose a resin, prepare formwork, pour, cut for the movement, grind and polish, and you will have a clear routine for each step.
You will have made up to three complete clocks following the lessons, and you will understand the logic behind them well enough to change colours, shapes and wood to create your own designs.
The clocks make personal gifts and decor for your home, and the same skills carry over to other volumetric pours.
Questions before you order
How much time do I need each week?
There is no fixed schedule. You work at your own pace, and a pour followed by grinding and polishing can be spread over several sessions. Plan around the time resin needs to cure, and expect to spend a few hours per project on top of watching the lessons.
Do I need previous experience?
No. The course starts with materials, tools and safety, so a complete beginner can follow it. If you already know resin, you will find new techniques for clock making.
How does access work after payment?
After payment you get access to the lessons in your account. The basic tariff gives you access to all course materials for six months, and you can watch the lessons as often as you like within that time.
What is your refund policy?
You can request a refund within 14 days of purchase.
What format are the lessons in?
They are recorded video lessons. You can watch them on a computer, tablet or phone, and pause or repeat any step while you work.
Will the material stay available?
Yes, for the whole access period of your tariff, which is six months on the basic one. You can come back to any lesson during that time.
What tools and materials will I need?
The course gives a complete list of tools, recommendations on resin and slabs, and links to stores for the clock components.
Do I have to make all the clocks?
No. You can follow all three projects, or choose the ones you like. Each module is one complete clock.
Start making your first clock
Get the full video course and make three clocks in different techniques.