Creative · All levels
Create dynamic bouquets and arrangements with confidence
A step-by-step floristry programme that combines a distinctive spreading-bouquet system with the core rules of classical floristry.
- 33 video lessons in 5 modules
- Bonus marketing lesson
- Homework for every topic
- Checklists and practical guides
Why some bouquets look alive and others look stiff
Many people who work with flowers know the feeling: the stems are beautiful, the colours are right, and yet the finished bouquet looks flat or crowded. The problem is rarely taste. It is usually construction, meaning where each flower sits, how the stems cross and how the whole shape grows from the hand.
This course is built around a clear system for making spreading, dynamic bouquets and compositions. It explains how a bouquet is put together, which role each flower plays and why certain placements create movement while others block it.
Alongside that system you learn the basics of classical floristry: rhythm, proportion, texture and colour theory. Knowing both lets you choose the approach that suits each order, instead of copying a photograph and hoping for the best.
The aim is for the technique to become automatic. When your hands know the construction, you can stop controlling every stem and let the bouquet develop naturally. That is when the most graceful results appear.
What you will be able to do
- Assemble a spreading bouquet from scratch
Follow a repeatable formula instead of improvising each time.
- Place flowers by their function in the bouquet
Understand the role of each type of flower and where it belongs.
- Apply classical rules of proportion
Use the golden section and the 3:5:8 proportion to balance a composition.
- Work with colour deliberately
Use the colour wheel to distribute shades across a bouquet.
- Build arrangements on floral foam
Make round and spreading compositions in hat boxes and vases.
- Compose bouquets for different budgets
Create ten bouquets from modest to large garden-style designs.
- Wrap bouquets in five commercial styles
Choose a wrapping that suits the shape and size of the bouquet.
- Photograph your work on a phone
Present bouquets well in a florist's social media account.
- 33
- video lessons
- 5
- modules
- 10
- full bouquet builds
- 90 days
- access to materials and feedback
A construction system you can repeat
The core of the course is a formula for the spreading bouquet. You learn how the stems are laid, how the structure resembles a figure eight and how different starting points change the final shape.
You then practise on simple bouquets built from a single flower type before moving to mixed ones. Working this way lets you find the assembly method that feels most comfortable in your own hands.
- Learn the role each flower plays
- Try several ways to start a bouquet
- Practise on mono and duo bouquets first
- Move on to multi-flower bouquets
How the course works
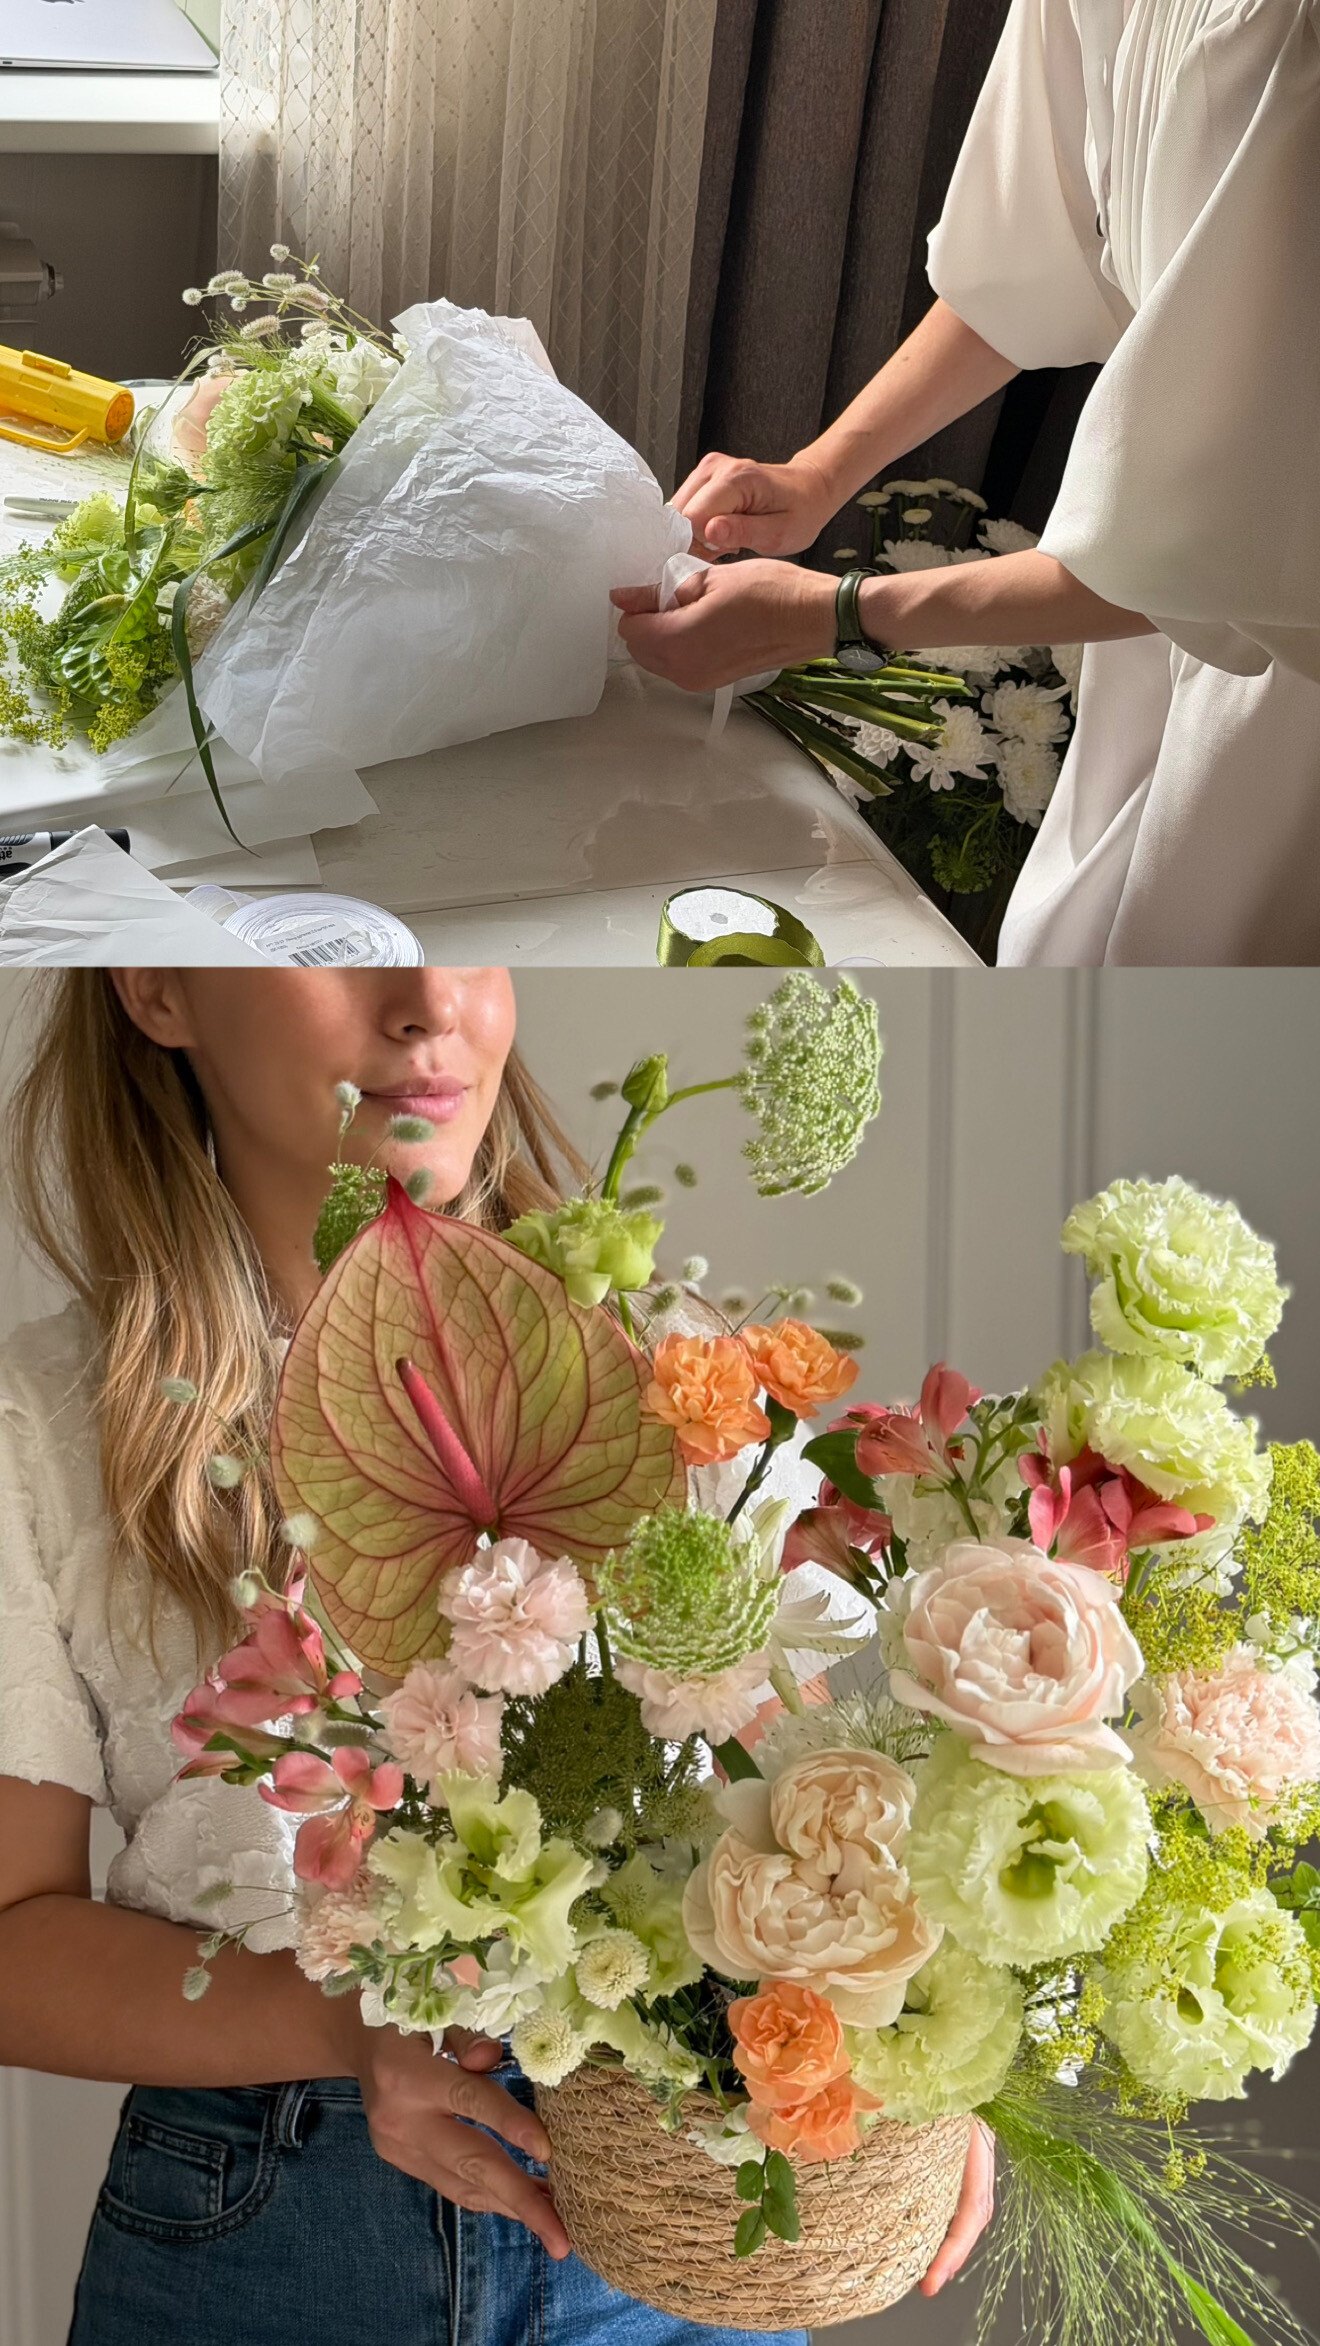
The programme is delivered online as recorded video lessons, so you can study when it suits you and replay any step as often as you need. The load increases gradually: the first module covers theory, the next ones move into practice with growing complexity.
Each topic comes with a homework task, so you apply what you watched straight away. Checklists and practical guides fill in the details of everyday florist work that are easy to miss when you only watch.
The complete package includes access to a private chat for students, review of homework, schematic corrections of your bouquets and a bonus lesson. Access to the materials and feedback lasts 90 days from purchase, which is enough to work through all lessons at a steady pace.
The programme
Five modules with 33 lessons, presented here in eight groups for easier reading, plus a bonus lesson.
1Module 1a — The signature spreading-bouquet systemThe construction formula and the role of every flower.3 lessons
- The system for creating a spreading bouquet
- Placing flowers within the signature technique and their functions
- Extra lesson for beginners: spiral assembly, the basic technique
2Module 1b — Rules of classical floristryRhythm, proportion, texture and colour.4 lessons
- Bouquet rhythm and the placement of flowers
- The golden section and the 3:5:8 proportion
- Working with textures and the rule of thirds
- Colour theory: the colour wheel and distributing colour through a bouquet
3Module 2 — Practising on mono and duo bouquetsFind the assembly method that suits you.5 lessons
- Building a large, multi-level mono bouquet from reflexed roses
- Different ways to start a bouquet, part 1, and wrapping a medium spreading bouquet
- Different ways to start a bouquet, part 2: choosing your technique
- Practice assembly of a duo bouquet from roses and hydrangeas
- First practice on a mixed bouquet with basic flowers
4Module 3 — Compositions on floral foamApply the technique to arrangements.6 lessons
- Spreading composition in a hat box: taking one apart and rebuilding it
- Working scheme for a round shape
- Dynamic round composition in a hat box
- Spreading composition in a vase, built in stages
- Training your hand on the round composition shape
- Extra lesson on working with floral foam
5Module 4a — Mixed bouquets, part oneFive bouquets in different colour schemes and sizes.5 lessons
- A modest bouquet in a red and orange palette
- A bouquet in creamy and orange shades
- A bouquet in white and green
- A large, bright bouquet
- A medium bouquet in orange and lilac tones
6Module 4b — Mixed bouquets, part twoFive more bouquets, up to a large garden style.5 lessons
- A soft white and pink medium bouquet from a basic selection
- A neat bouquet with Cappuccino roses
- A modest bouquet in red shades
- A round, multi-level bouquet
- A large garden bouquet with autumn hydrangeas and anthuriums
7Module 5 — Commercial wrappingFive ways to wrap bouquets of different shapes.5 lessons
- Wrapping a medium boat-shaped bouquet
- Wave wrapping that adds volume
- Simple, symmetrical wrapping for a round bouquet
- Wrapping a large boat-shaped bouquet
- Wrapping a small bouquet stylishly in one minute
8Bonus — Presenting your workShow your bouquets to future clients.1 bonus lesson
- Marketing and visual style for a florist's social media account
- Practical lesson: photographing bouquets on a phone
What you get
- 33 video lessons in 5 modules
Theory, practice and wrapping in a logical order.
- A bonus lesson
Marketing, visuals and phone photography for your floral work.
- Homework for every topic
Practical tasks that turn watching into skill.
- Checklists and practical guides
Reference material for everyday florist work.
- Access to a private student chat
Ask questions and see how others progress.
- Homework review
Feedback on the tasks you complete.
- Schematic corrections of your bouquets
Guidance on how to improve your constructions.
- 90 days of access
Materials and feedback are available for three months.
Is this course for you?
This course is for you if…
- Beginners who want a clear, gradual start in floristry
- Working florists who want to refine their construction and wrapping
- Anyone who wants to make bouquets for friends, family or small orders
- Florists who want better photos and presentation of their work
Probably not a fit if…
- Anyone looking for a quick shortcut without practising
- People who do not have access to flowers and basic florist tools
- Learners who want only a short overview of a few tips
- Anyone expecting live in-person tuition as part of this package
After the course
You will know how a bouquet is built and why it works, and you will be able to assemble spreading bouquets and compositions without relying on a template.
You will be able to choose between several starting methods and settle on the one that suits your hands. Proportion and colour will guide your choices, so your work looks balanced even with unfamiliar flowers.
You will have wrapped bouquets in five different styles, built ten full bouquets and several arrangements, and prepared photos that show your work at its best.
Frequently asked questions
How much time do I need each week?
The lessons are self-paced, so it depends on you. Most people do well with a few hours a week, which includes watching a lesson and completing its practical task. Allow for the 90-day access period when planning your schedule.
Do I need any previous experience?
No. The course suits both beginners and practising florists. An extra lesson on spiral assembly is designed for newcomers, and the workload increases gradually.
What will I need for the practical tasks?
Fresh flowers, foliage, basic florist tools and wrapping materials. Each lesson shows what is used, so you can prepare in advance or substitute similar flowers.
How does access work after payment?
After payment you receive access to the lessons on the learning platform. You can start straight away and study from a computer or phone.
How long does access last?
The programme package includes access to the materials and feedback for 90 days from purchase.
What format are the lessons in?
Recorded video lessons with homework tasks, checklists and practical guides. You can pause, repeat and revisit any step.
Is there support while I study?
Yes. The package includes a private chat for students, review of your homework and schematic corrections of your bouquets.
What is the refund policy?
You can request a refund within 14 days of purchase if the course is not what you expected.
Start building better bouquets
Begin with the theory, practise step by step and see your bouquets become more balanced and alive.