Creative · Beginner
Turn fresh flowers into lasting plaster relief panels
A step-by-step video programme that teaches the botanical relief technique, even if you have never sculpted or painted before.
- Pre-recorded video lessons
- Practical task in every lesson
- Watch as often as you like
- 14-day money-back guarantee
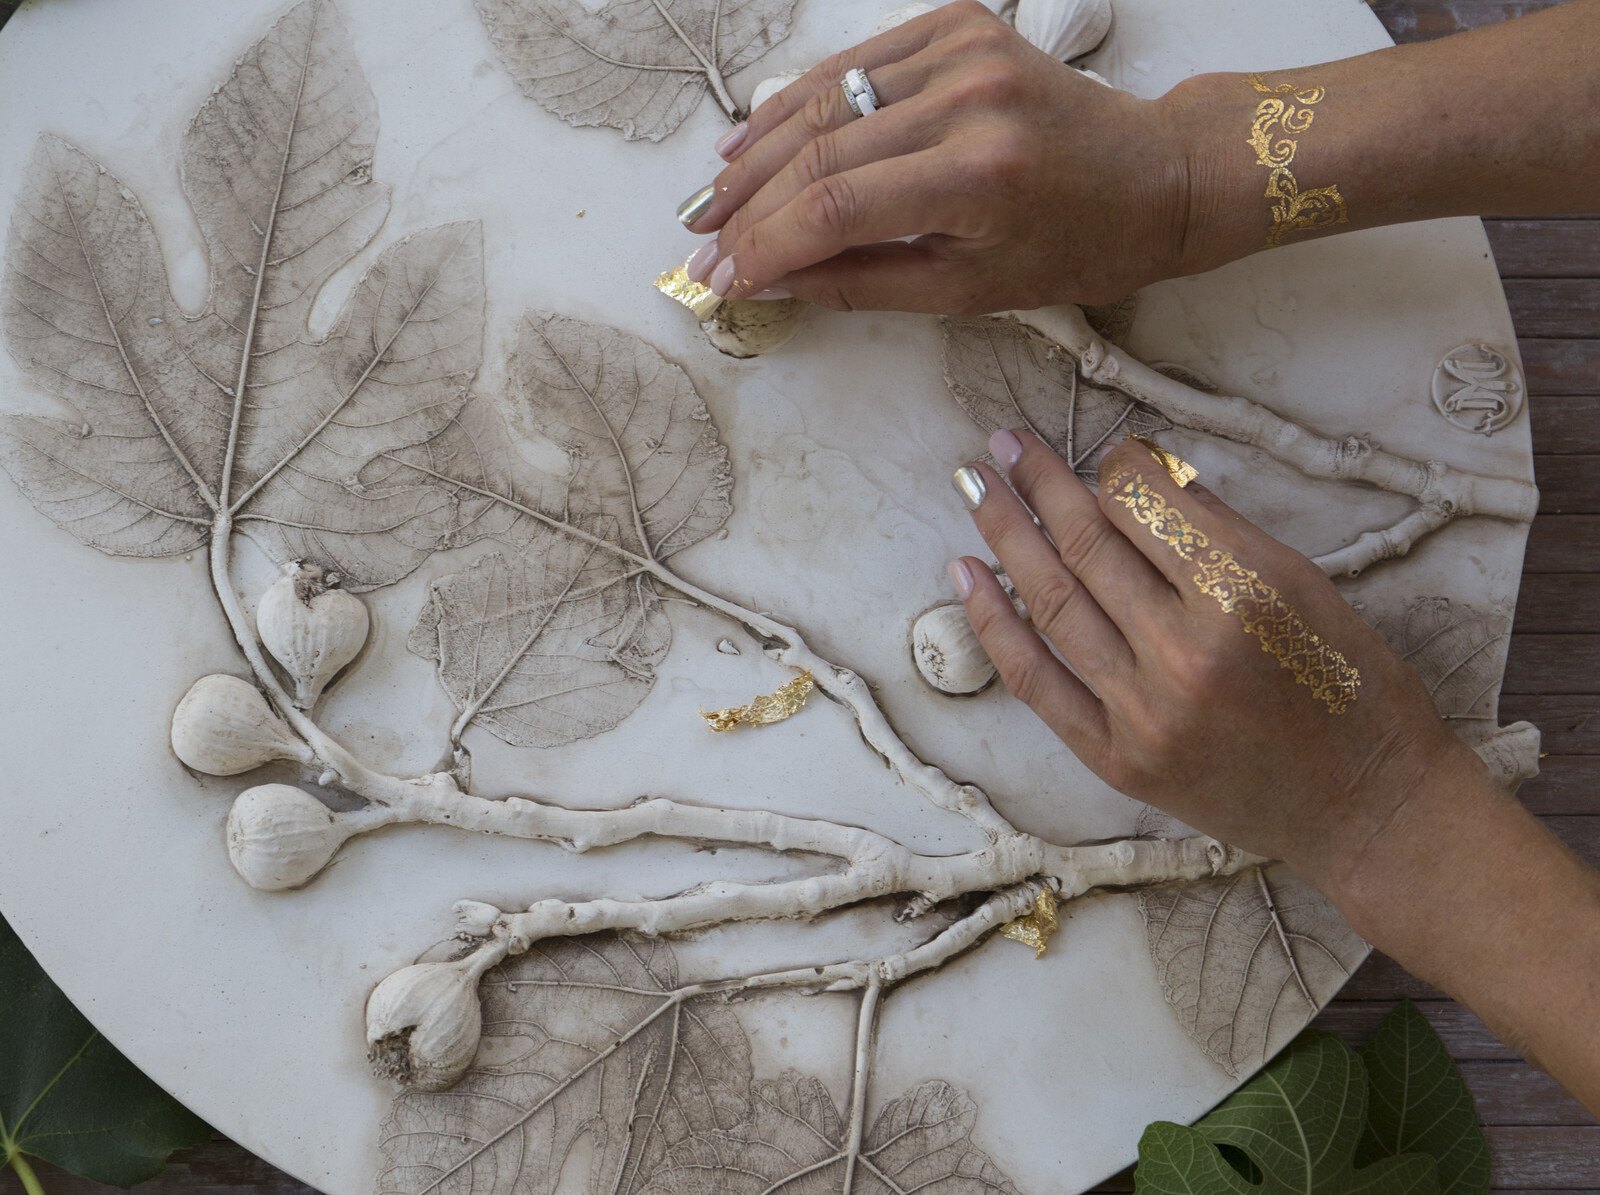
Keep the beauty of a flower all year round
A bouquet is beautiful for a few days. Then the petals drop, the stems bend and the colour fades. Many people who love flowers have wished they could keep one perfect moment, and photographs only go so far because they are flat and live on a screen.
Botanical relief answers that wish in a different way. It is a technique for building a three-dimensional panel in which each flower, leaf and stem is modelled in plaster and then finished by hand. The result is a portrait of a plant that you can hang on a wall, give as a gift or place in an interior, and that looks the same next year as it does today.
This programme teaches that technique from the beginning. You do not need a studio, an art degree or previous experience. You need a few materials, some quiet time and the willingness to follow the lessons in order and complete the practical tasks.
The lessons are recorded in high definition with clear sound, so you can see how the hands work, how the material behaves and what a correct result looks like at every stage.
What you will be able to do
By the end of the programme you will have practical skills you can apply to your own panels.
- Prepare materials and a clean workspace
Know what you need, how to mix it and how to avoid the most common beginner mistakes.
- Model a flower in low relief
Build petals, leaves and stems layer by layer so that they look natural and keep their shape.
- Compose a balanced botanical panel
Arrange several plants on one surface with sensible proportions and rhythm.
- Fix cracks, uneven surfaces and weak details
Recognise problems early and correct them with simple methods.
- Apply advanced finishing techniques
Add depth, texture and delicate detail that make a panel look professional.
- Decorate a panel with additional effects
Use extra decorative methods such as gold leaf and surface treatments.
- Work with colour on a relief
Paint and tint a finished panel so that it keeps a natural, soft look.
- Price and present your finished work
Learn how to evaluate your own work fairly and show it to clients or friends.
- 6
- modules
- 22
- video lessons
- 2,000
- students from different countries have studied with the school
- 1
- practical task in every lesson
Learn by making, one layer at a time
The method is built around doing. Every lesson ends with a practical assignment, and each assignment builds on the previous one. You start with simple forms and gradually move to full compositions, so your hands learn the material before you attempt anything complex.
This approach means that a complete beginner can reach a good result. Nothing is skipped and nothing is repeated without a reason. Each lesson adds a new skill, and the later lessons assume only what you have already practised.
- Short, focused lessons on one skill at a time
- Close-up video so you can see every movement
- Practice tasks that move from simple to complex
- Rewatch any lesson whenever you need to
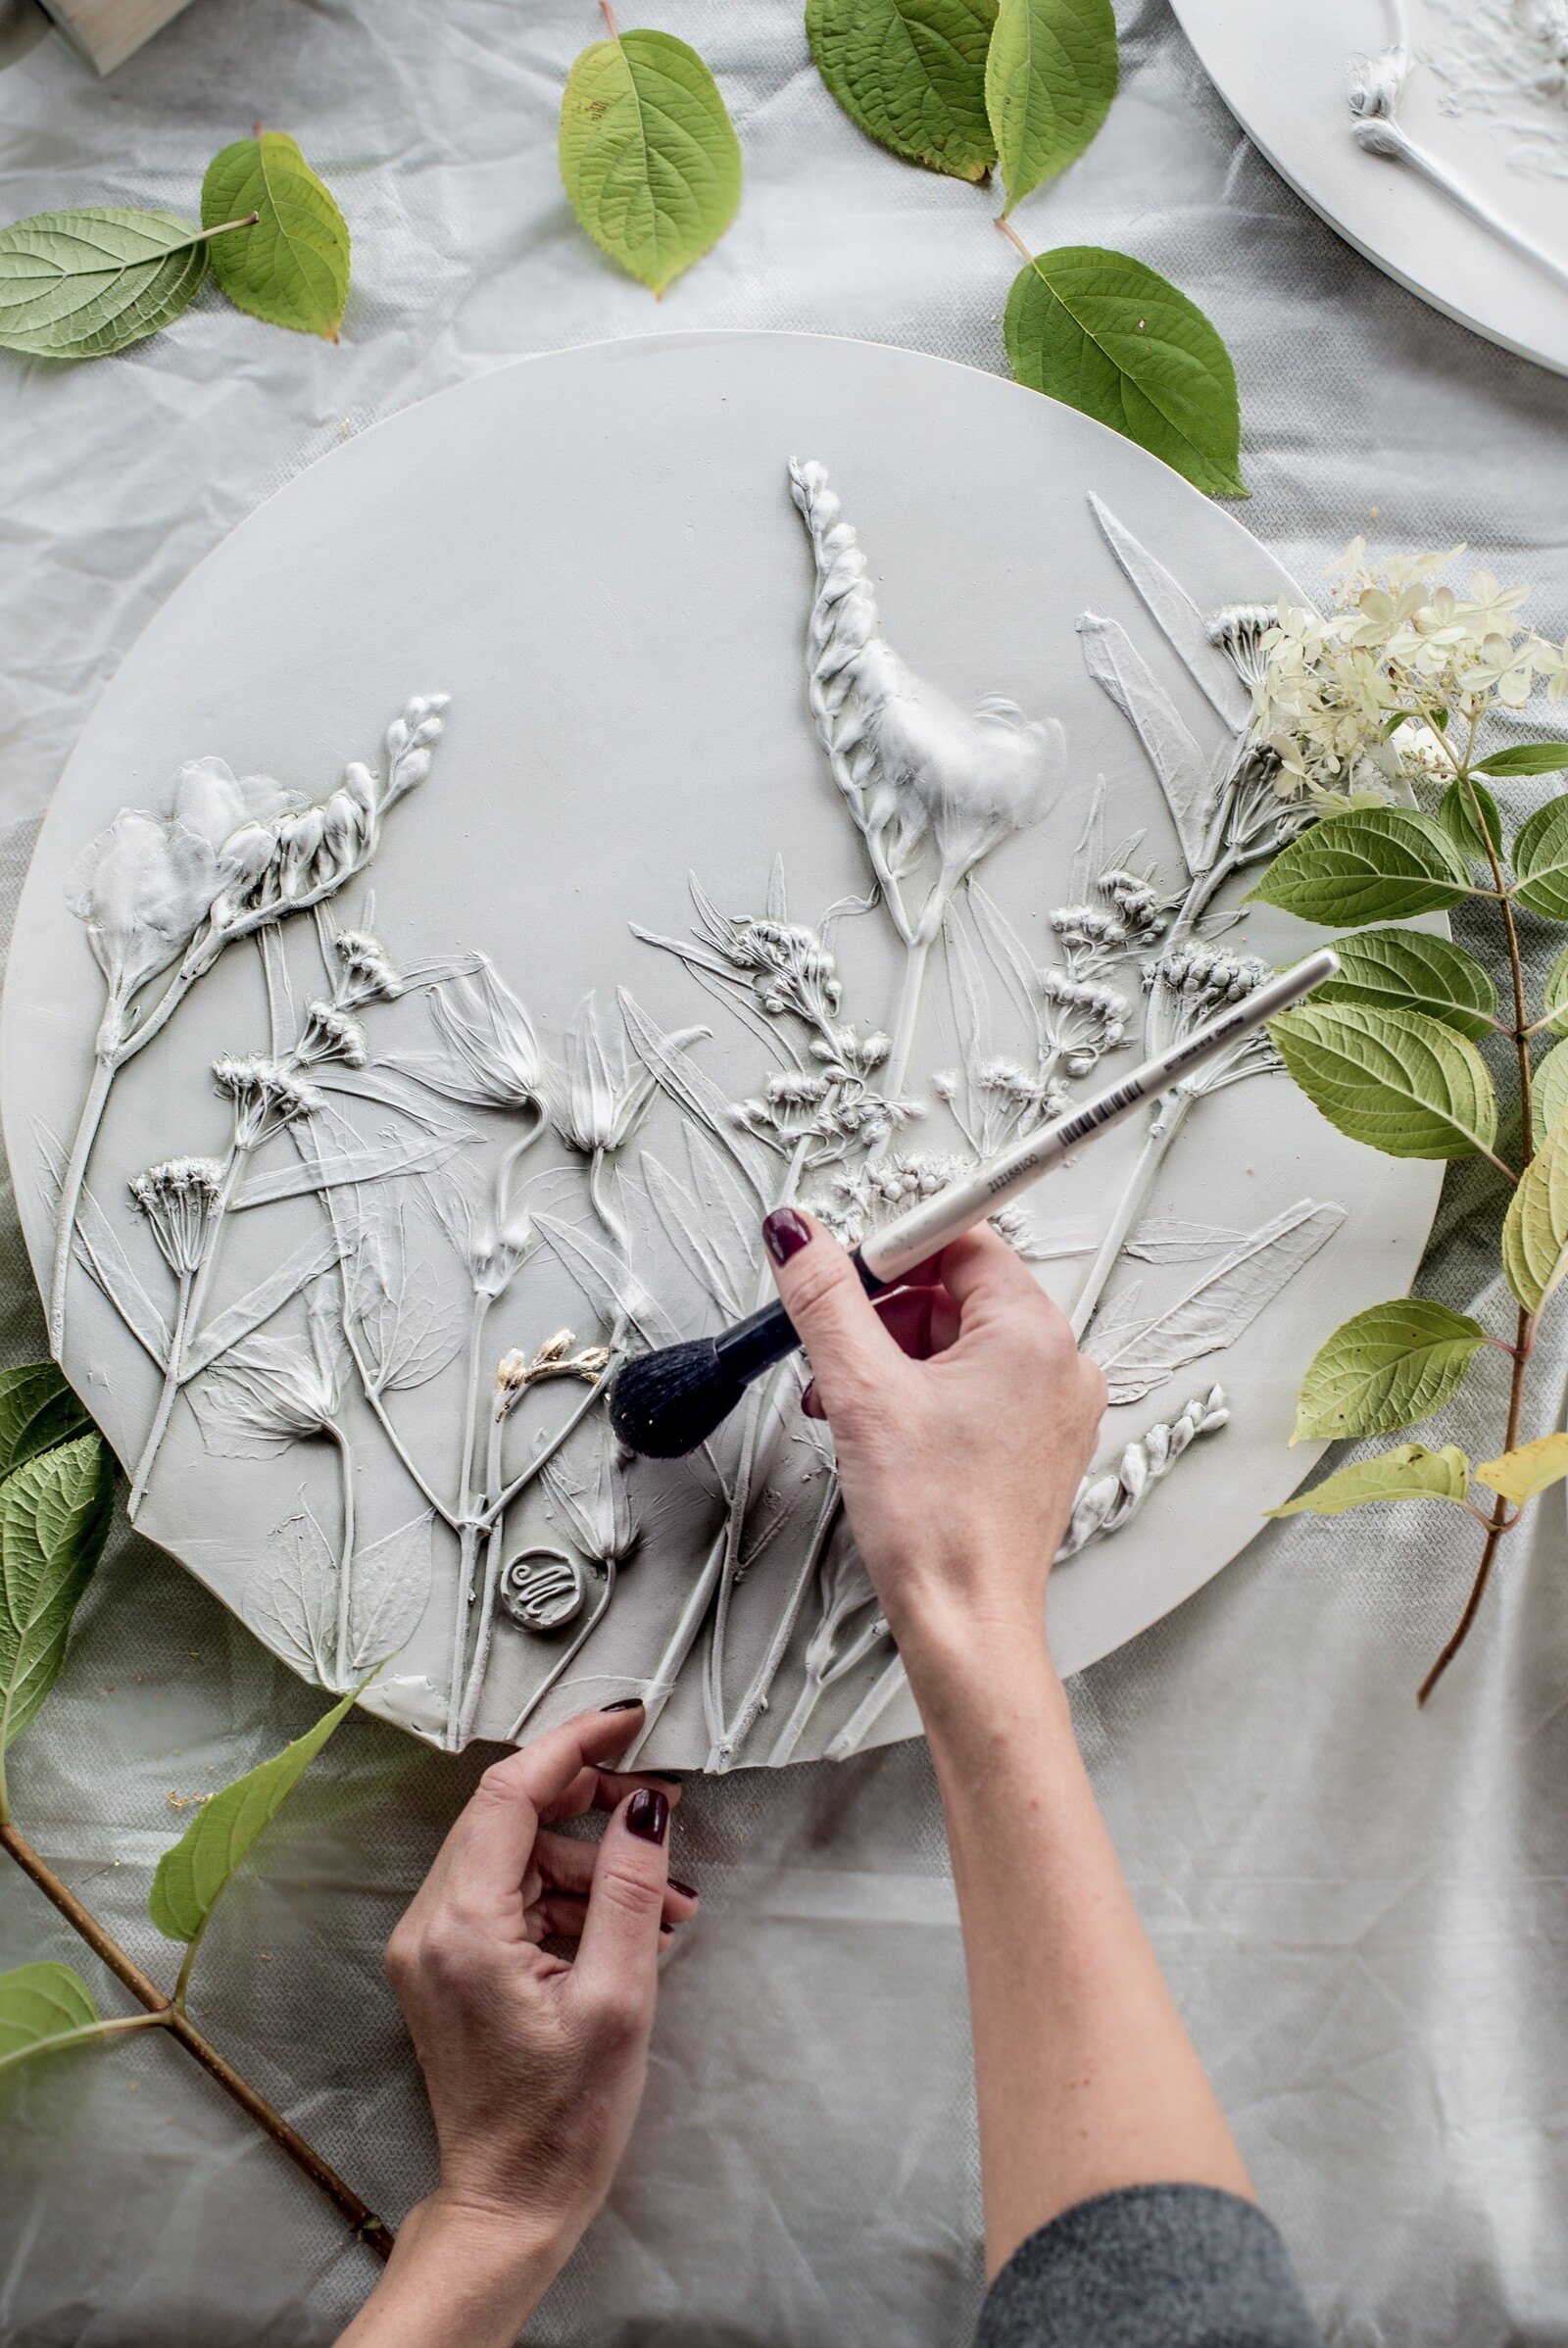
How the course works
All lessons are pre-recorded in professional quality. After you pay, you can watch them at your own pace, in the order they are given, as many times as you like. There are no fixed class times, so the programme fits around work and family.
Each lesson contains a practical task. We recommend completing it before moving on, because that is how the skill actually settles in. Watching alone will teach you what to do, but making the piece teaches you how it feels.
If you have a question, you can ask the teacher in the comments under the lesson. The teacher replies, points out what needs to be corrected and explains how to improve the result. The school also runs a student chat where learners exchange feedback and share progress.
The programme
The basic programme covers the essential knowledge and techniques in six modules. Later modules build on earlier ones, so we suggest following them in order.
1Module 1 — Materials and workspaceEverything you need to know before the first panel.4 lessons
- What botanical relief is and how a panel is built
- Materials and tools for beginners
- Setting up a clean, comfortable workspace
- Preparing the base and mixing the material
2Module 2 — First shapesPractise the movements that every flower is made from.4 lessons
- Basic forms and hand movements
- Making simple petals
- Modelling leaves and veins
- Creating stems and small branches
3Module 3 — A complete flower portraitCombine your skills into your first finished panel.4 lessons
- Choosing a plant and planning the composition
- Building the flower layer by layer
- Adding the leaves and background elements
- Drying, cleaning up and checking the result
4Module 4 — Advanced techniquesMore refined methods for depth and delicate detail.3 lessons
- Creating depth and a sense of volume
- Fine details and texture
- Correcting cracks and uneven areas
5Module 5 — Decorative finishingExtra decorative methods that lift a panel from neat to striking.4 lessons
- Surface treatments and effects
- Working with gold leaf
- Framing and presenting a panel
- Choosing a panel for a particular interior
6Module 6 — Colour and valuing your workAdd colour to your relief and learn to assess your work fairly.3 lessons
- Colouring a finished relief
- Keeping a natural, soft look
- How to assess the value of your own work
What you get
- Video lessons in high definition
Recorded in professional quality with clear sound.
- Practical tasks
An assignment in each lesson so the skills actually stick.
- Teacher feedback
Ask questions in the lesson comments and receive guidance on what to correct.
- Student chat
Share progress and exchange impressions with other learners.
- Unlimited viewing
Return to any lesson as often as you want.
- A clear learning path
Lessons that complement each other without repeating information.
Is this course for you?
This course is for you if…
- You love flowers and nature and want to create something with your hands
- You are a florist who wants to offer lasting floral work
- You are an interior designer looking for new decorative techniques
- You want to make an original handmade gift
- You have no experience in sculpture or painting and want a clear starting point
Probably not a fit if…
- You are looking for live, in-person classes
- You want a finished result without practising
- You expect to master advanced techniques in a single evening
- You are looking for a course on a different craft such as pottery or woodwork
After the course
When you finish, you will be able to create botanical relief panels from start to finish: planning the composition, modelling the plants, correcting flaws and finishing the surface with care. You will have at least one complete piece to show for your effort.
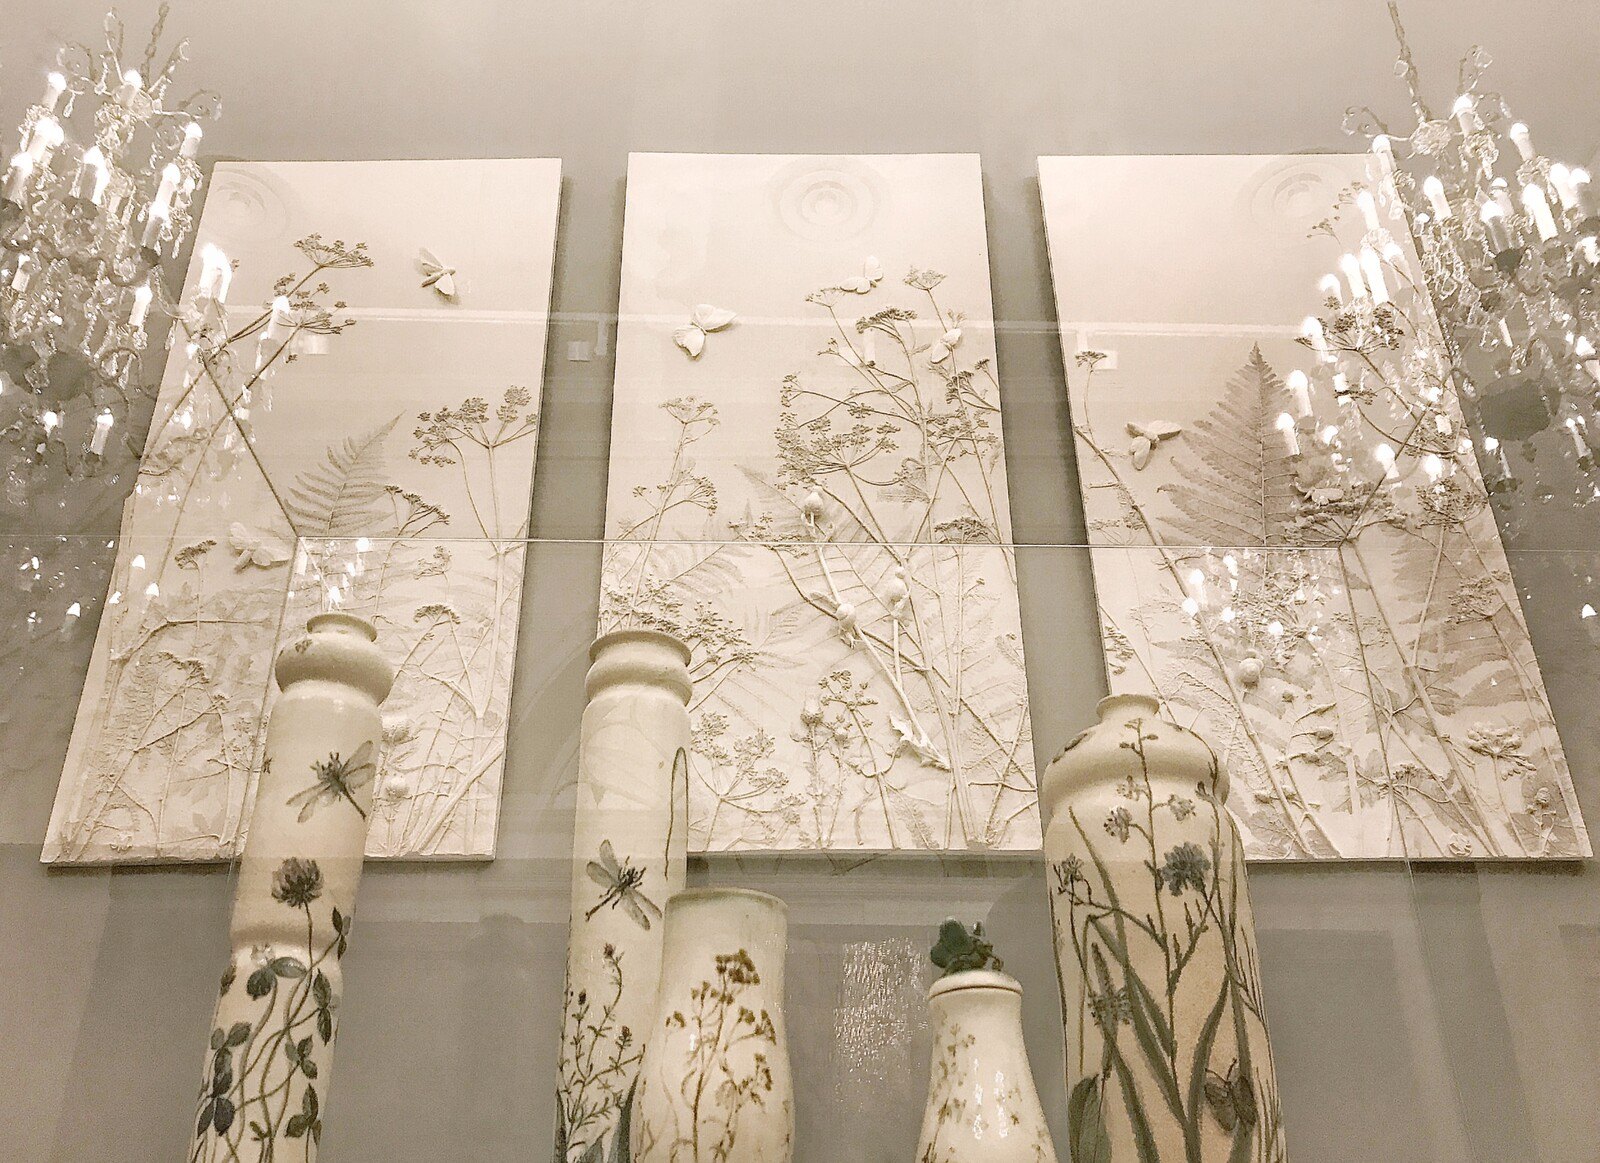
Your panels can find a place in many settings, from private apartments and beauty salons to floral studios and wedding salons. They also make unusual gifts that people keep for years.
You will also know how to judge the value of your own work, which is useful whether you keep making panels for pleasure or decide to offer them to others. The programme does not promise any income, but it gives you the craft skills to build on.
Questions before you buy
How much time do I need each week?
It is up to you, because the course is self-paced. Many learners set aside a few hours a week to watch a lesson and complete its practical task. Modelling and drying take some time, so a steady pace works better than rushing.
Do I need any experience?
No. The programme starts with the basics and is designed so that people with no experience in sculpting or painting can follow it. You only need to complete the practical tasks in order.
How does access work after I pay?
Once your payment is confirmed, you receive access to the lessons and can start straight away. You can watch them whenever it suits you, from any device with an internet connection.
What is the refund policy?
You can request a full refund within 14 days of purchase if the course is not what you hoped for. Contact our support team and we will take care of it.
What format are the lessons in?
They are pre-recorded video lessons in high definition with clear sound. Each lesson includes a practical assignment.
Will the material stay available?
Yes. You can return to any lesson as many times as you want and revisit techniques whenever you need them.
Can I ask questions while I learn?
Yes. You can ask questions in the comments under each lesson and the teacher will respond, pointing out what to fix. There is also a student chat for sharing progress.
What materials will I need?
The lessons explain the materials and tools you will need, so you can prepare before you begin making your first panel.
Start your first botanical relief
Order the programme today and begin modelling your first flower portrait.